How to repair a ripped tent? Is this task even doable?
You see, your tent is a precious amenity. In every outdoor adventure, a tent gives you the shelter that you need for convenience and protection.
But if you are heading on a backcountry or backpacking trip, there’s a possibility that your tent gets damaged. This is especially true if you are going to camp in a woody area where there are a lot of stray branches. They can pierce and rip the fabric of your tent.
The same thing can happen if you are doing an expedition on a rocky mountain. The sharp and jagged rocks there are capable of tearing your tent.
If these unfortunate things happen, people think that the immediate solution is to throw the tent and buy a new one. Honestly, that’s absurd and impractical, especially if the damage is just present in a particular part of the tent. You can still fix the problem if you are diligent enough to do so.
If you want your tent to last for a few more adventures, do the following repair tips.
How To Repair A Ripped Tent
Cut Loose Threads From The Torn Part
Every time a garment or fabric is ripped, it leaves loose fabrics and threads. Such a situation happens, regardless if your tent is made from polyester or nylon fabric. You need to take out these protrusions because they can cause further tearing and ripping to the tent.
To do this, you simply need to take a pair of sharp scissors and begin trimming the excess threads. Be careful, though, as you don’t want to make accidental cuts to the tent.
Start Cleaning The Damaged Area
Before you can start repairing your tent, it is important that you can clean it first. Dirt, debris, and stains can prevent you from effectively fixing the torn part of the tent’s fabric.
You should scrub your tent thoroughly to remove the blemishes. After that, rinse and dry it properly. If you see that your tent is clean, you can just apply alcohol to it. Make sure that you include the interiors of the tent in the cleaning process.
Steam The Damaged Area
This step is not that necessary anymore, but it can help in doing foolproof repairs. There’s a possibility that your tent’s fabric has been riddled with folds and creases. They can complicate the process of repairing the damaged part of the tent.
Similar to ironing your clothes, heat can remove the grooves and ridges in the fabric. You should also steam both the exterior and interior of the tent, ensuring that the material is smooth and flat thoroughly.
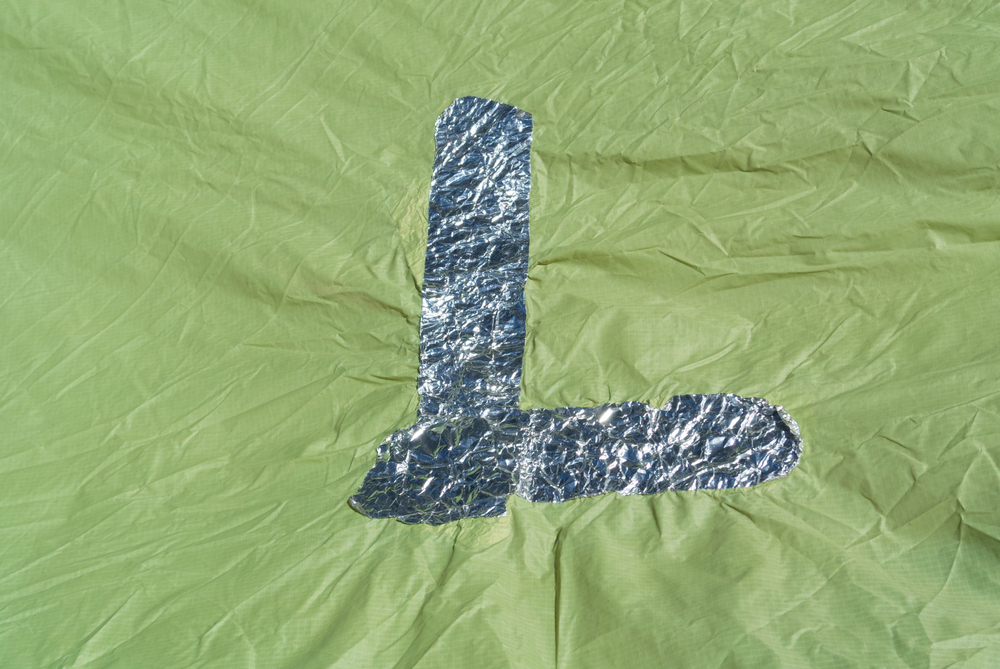
Use Repair Tape Inside The Tent
One of the best ways to repair a ripped tent is by applying repair tape to its interior. Specifically, you are going to patch the tape to where the rip took place. Make sure that the tape is bigger than the torn area–about half an inch to all sides.
Use a pair of scissors to trim the tame so that its edges become round. A round corner is less prone to peeling as compared to a sharp one.
After that, you can start peeling the backing from the tape and apply it over the ripped area. While patching, make sure that you don’t create air bubbles. Put sufficient pressure on the patch so that the tape will seamlessly integrate with the tent’s fabric.
Apply A Sealant On The Outside Of The Tent
It is not enough that you only patch the interior of the tent. To make a seamless repair to the tent’s material, its exterior should be fixed, too. To do this, you will need a sealant or adhesive, preferably a unit that provides waterproofing.
Use a small brush and apply the sealant along the sides of the tear. Do this thoroughly so that you will not miss anything. You can extend the area where you are applying the sealant by around a quarter of an inch. The sealant aids in increasing the weatherproofing and overall strength of the patch.
In some cases, the repair tape should be enough. But if you don’t want to take any chances, then you should use these sealants.
Dry The Repair
Of course, it’s not recommended that you use the tent right away after you finish repairing it. You should let the tape and adhesive dry for at least a day to ensure that they will set properly. But after it’s done, your tent is ready again to take on any outdoor adventures.
In Summary
It is not that difficult to learn how to repair a ripped tent. You simply need the right tools to get it done. Of course, it takes a little diligence on your part to ensure that your outdoor equipment is well-maintained.
That’s it for now. If you have other related inquiries, feel free to ask me in the comment section below.