Are your feet itching to go to the best countries to backpack in the world?
Well, you are not alone in that. Even amidst the pandemic, people are still longing to go to the outside world and explore the beauty of Mother Nature. Of course, once this travail is over, we will be able to go to these places again.
Sure enough, the world has a lot to offer when it comes to backpacking destinations. Here are some of those destinations that every backpacker would never resist.
Best Countries To Backpack
Philippines
This country is composed of more than 7,000 islands, which means that there are a lot of places you can explore here. However, don’t expect that you can visit all of them, despite the Philippines being a budget-friendly country. For backpacking purposes, the following places in the Pearl of the Orient Seas have to offer.
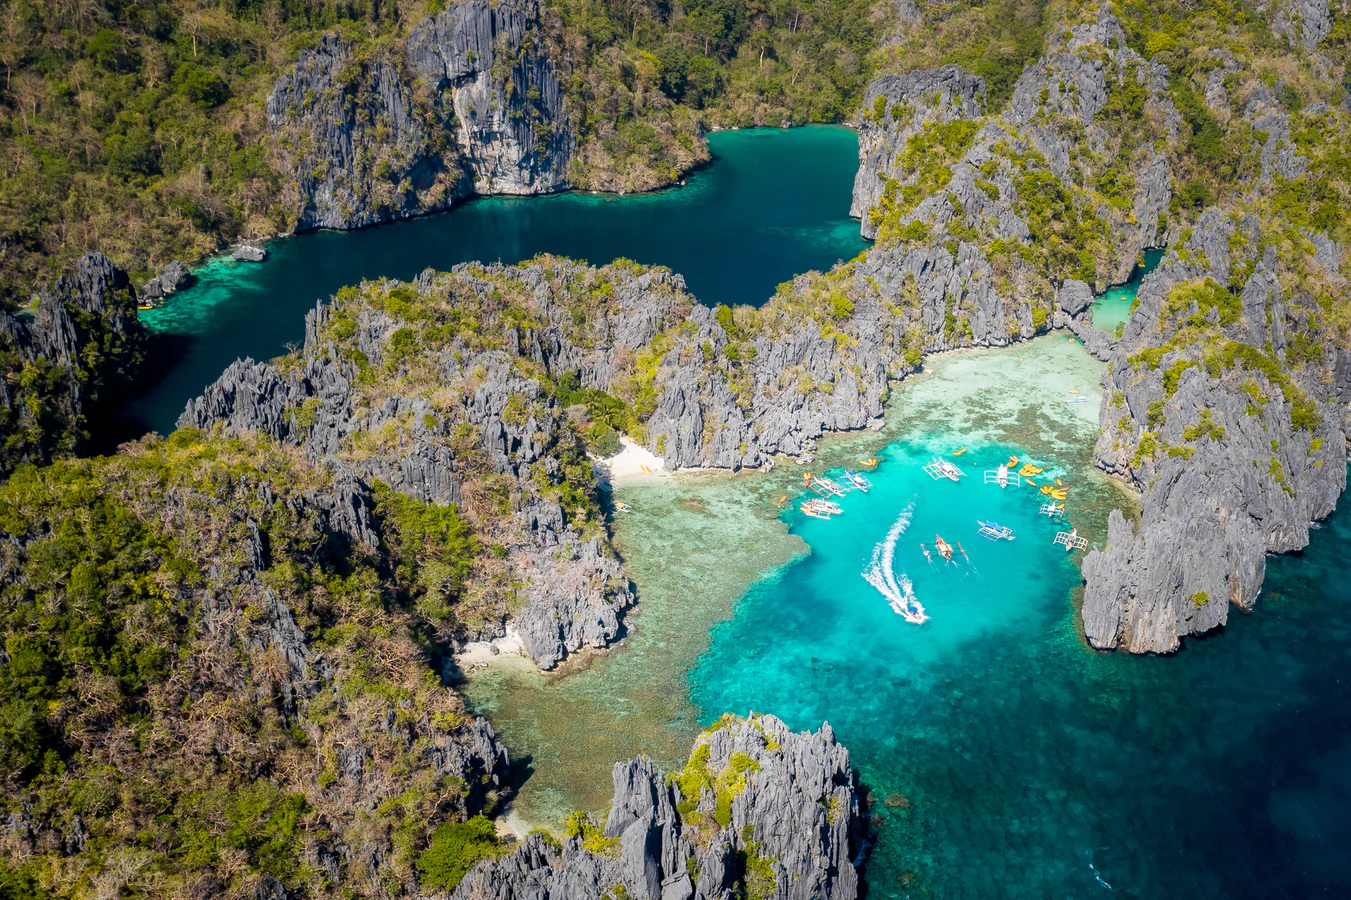
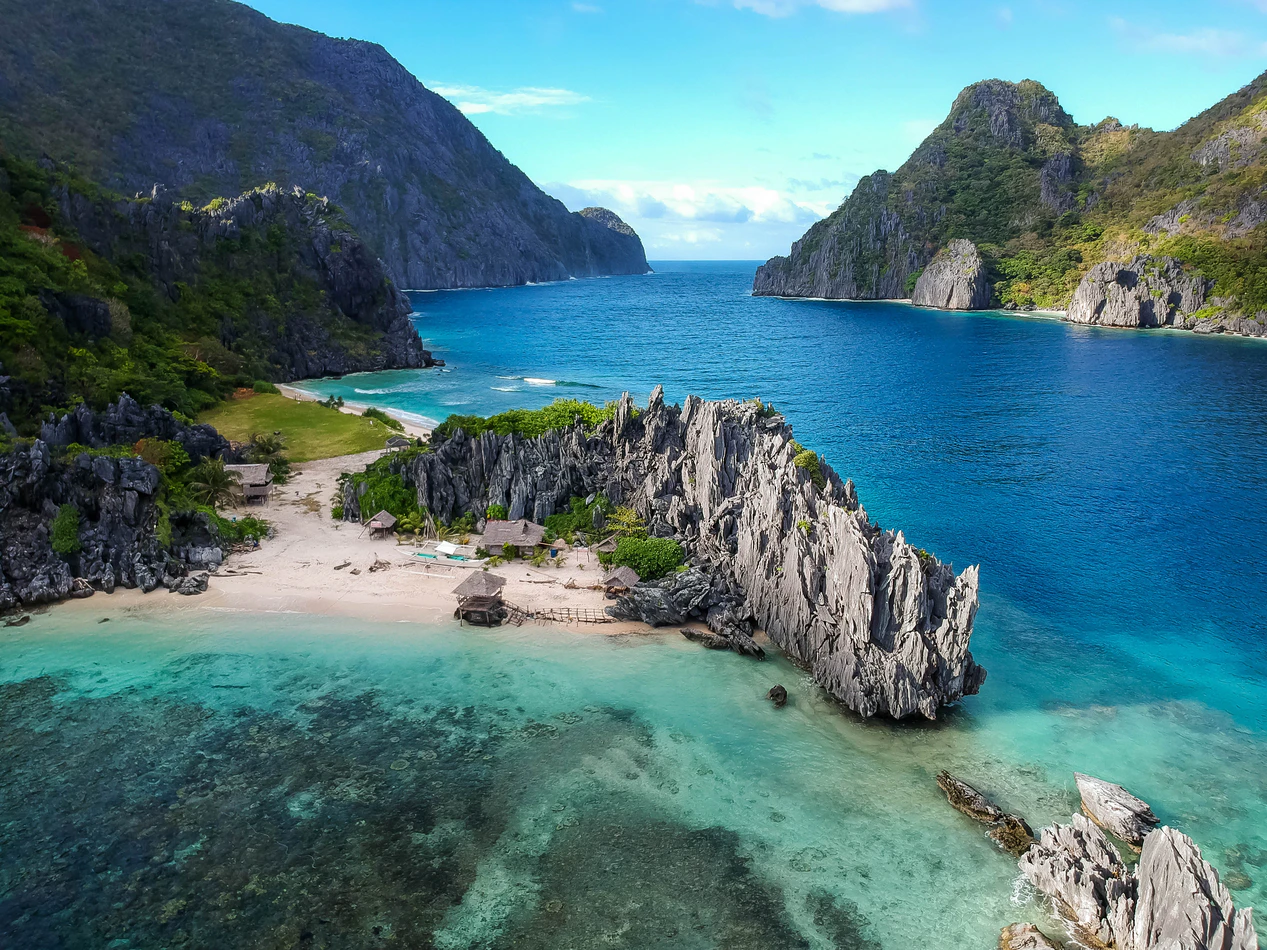
El Nido
El Nido simply means “The Nest.” Even among the locals, El Nido is considered one of the most coveted places. People who have been in the area are hesitant to leave it. Why? Because it is extremely beautiful. Made up of 54 islets, you will be able to witness the grandeur of beaches and white sands here. It is like a hidden paradise! Try climbing Mount Taraw. It is a good destination for backpackers.

Bohol
Bohol is the home of more than a thousand rounded land bulges called the Chocolate Hills. They gained this moniker due to their ability to turn brown whenever the dry season is looming. But on the regular days, they become luscious green, making them a captivating scenery. Backpackers can expect to see tarsiers here as well–one of the cutest animals you can encounter these days.
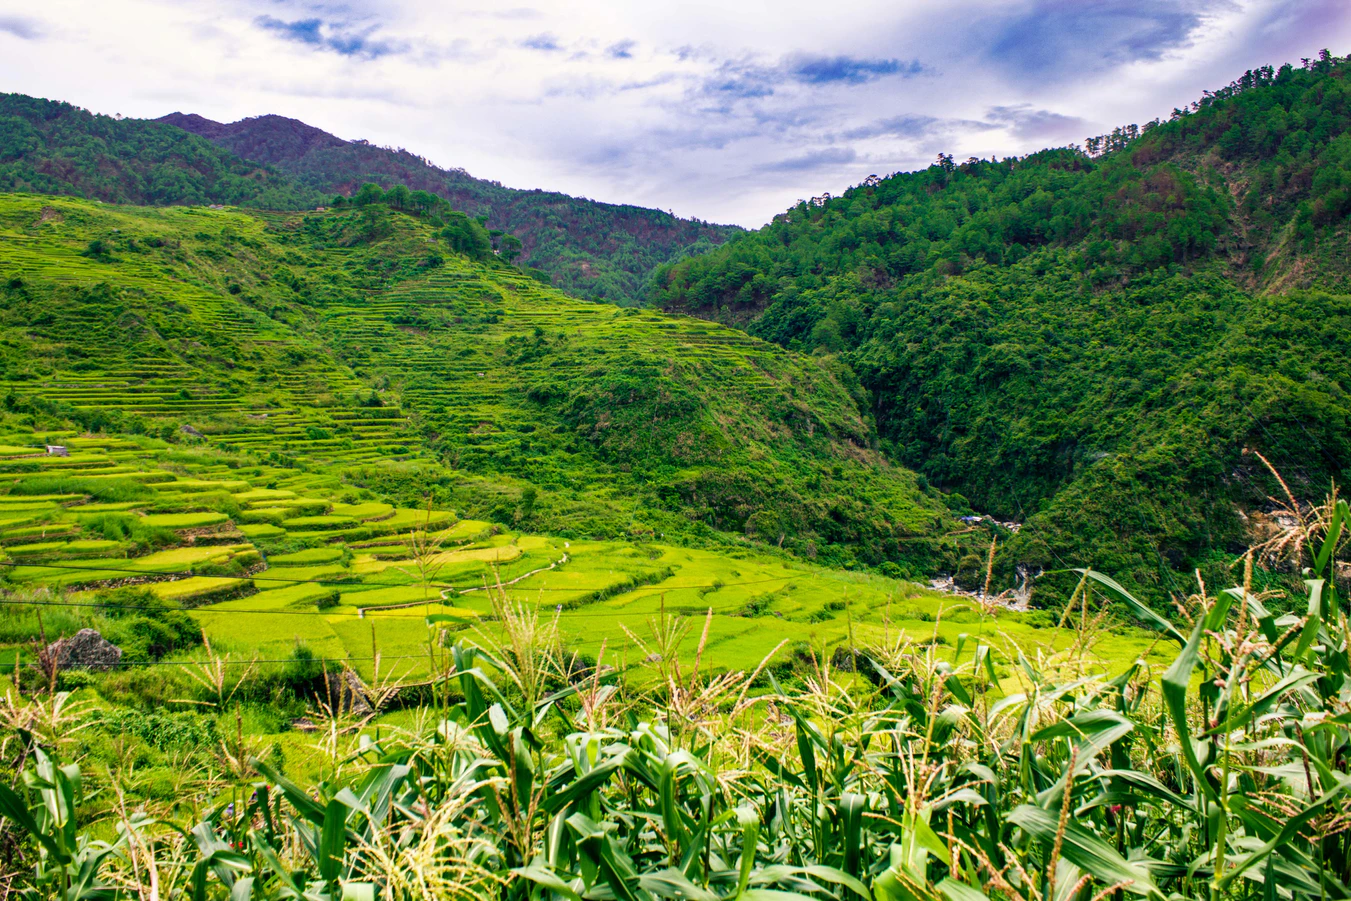
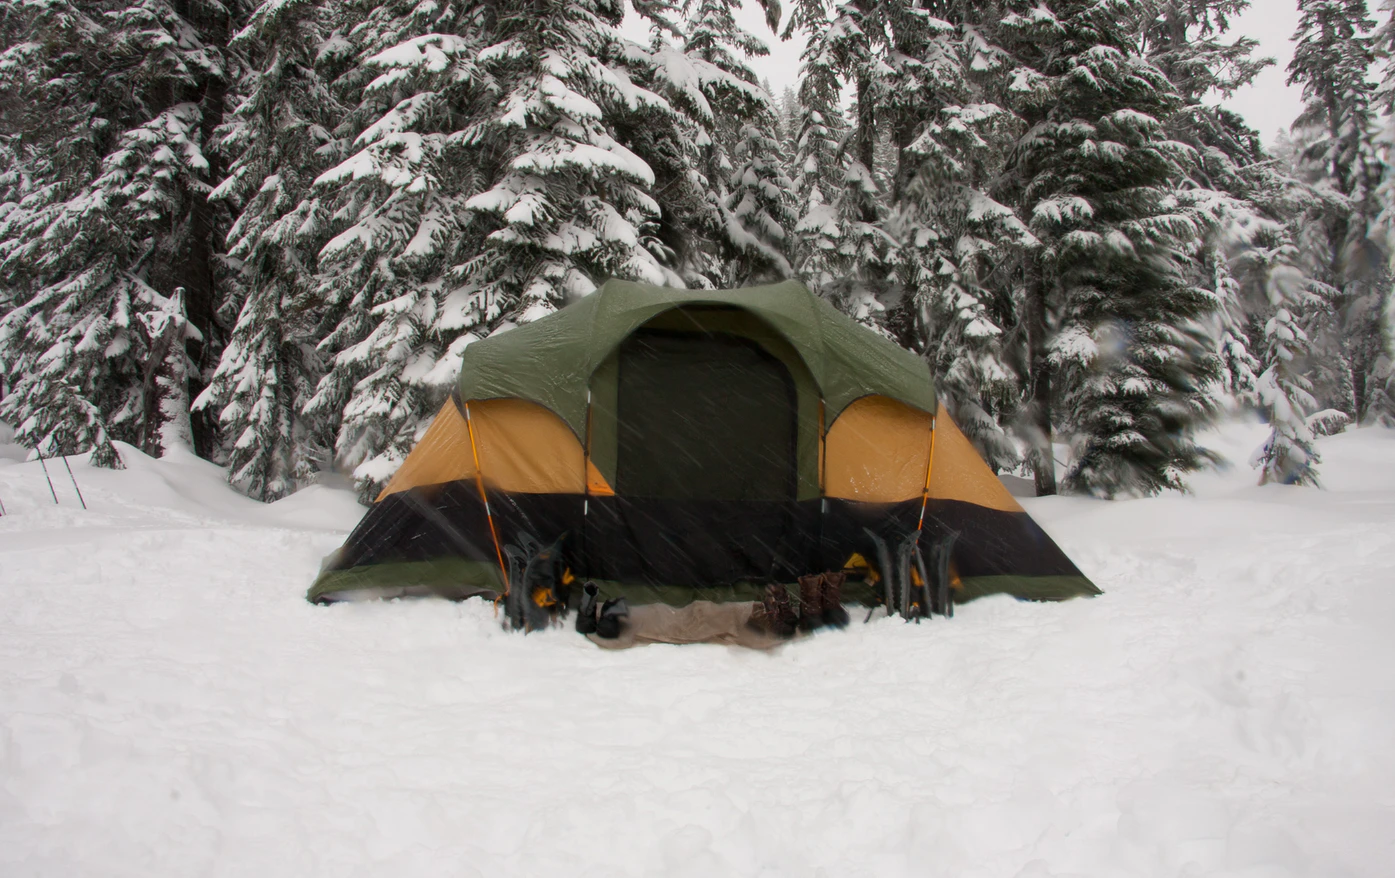
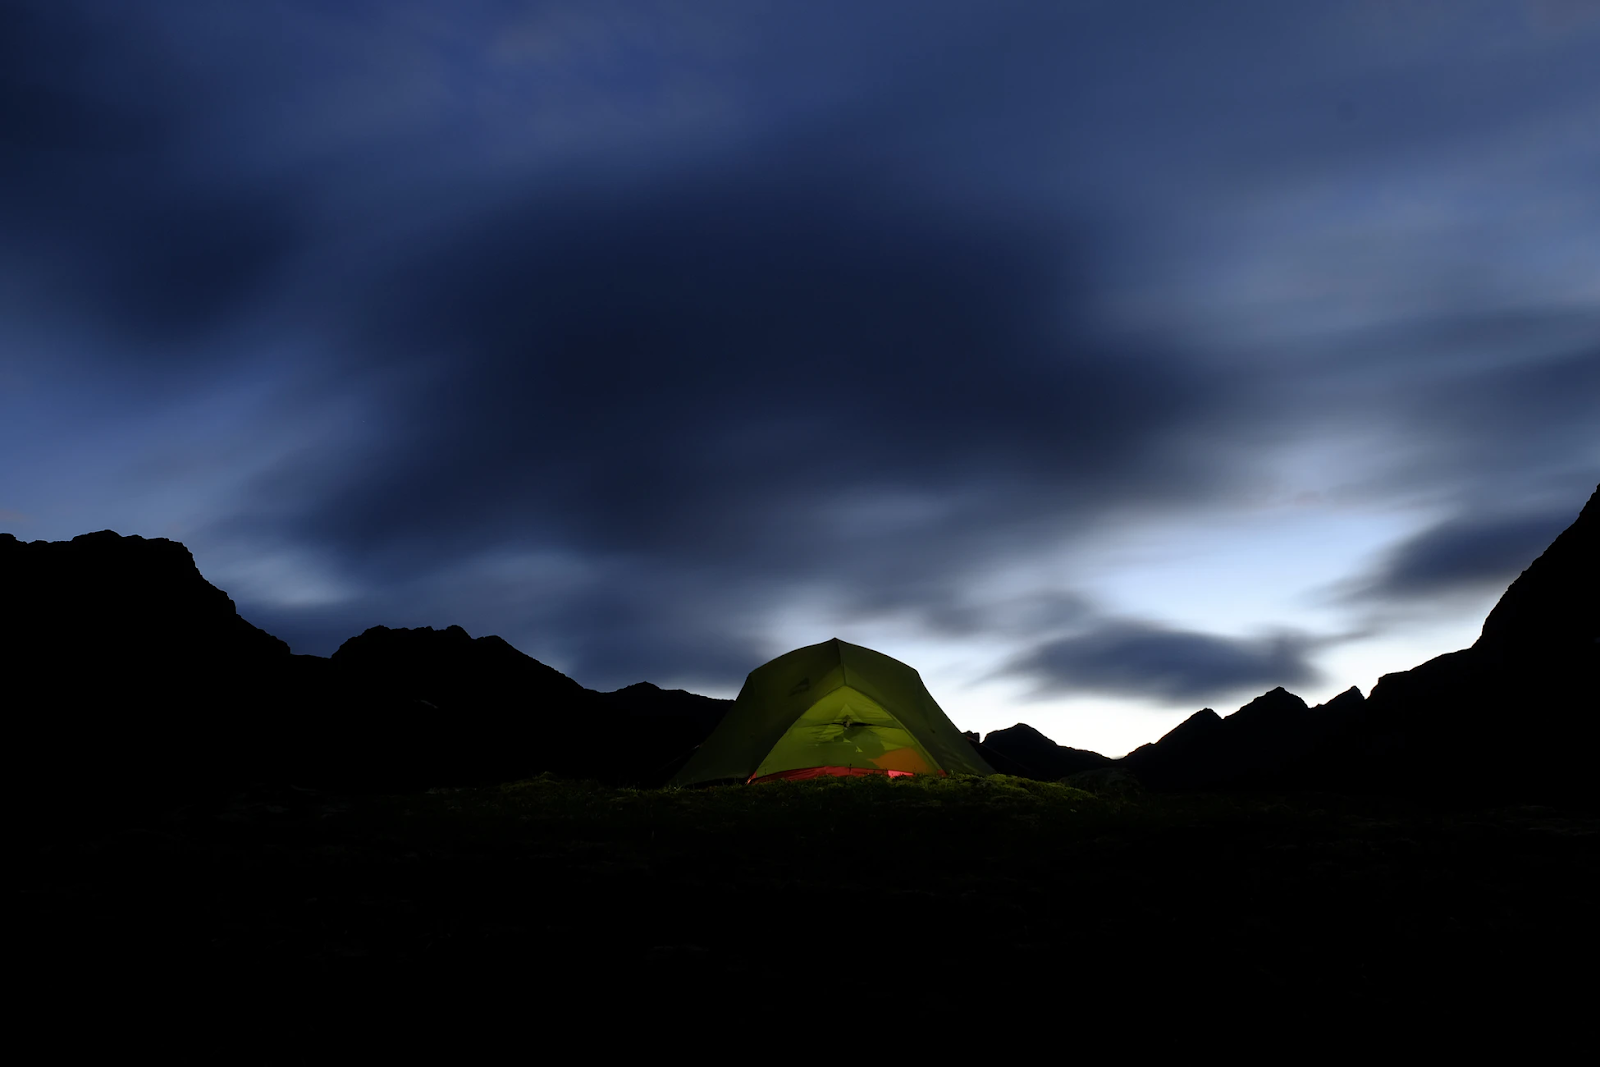
Cordillera
Cordillera is one of the majestic spots for backpacking. It is situated in the North Luzon region, which is blanketed by the cold weather all year long. The mountain range has numerous hills, which can suit any backpacker, regardless of their skill level. Explore this area and see the rice paddies by the local tribes.
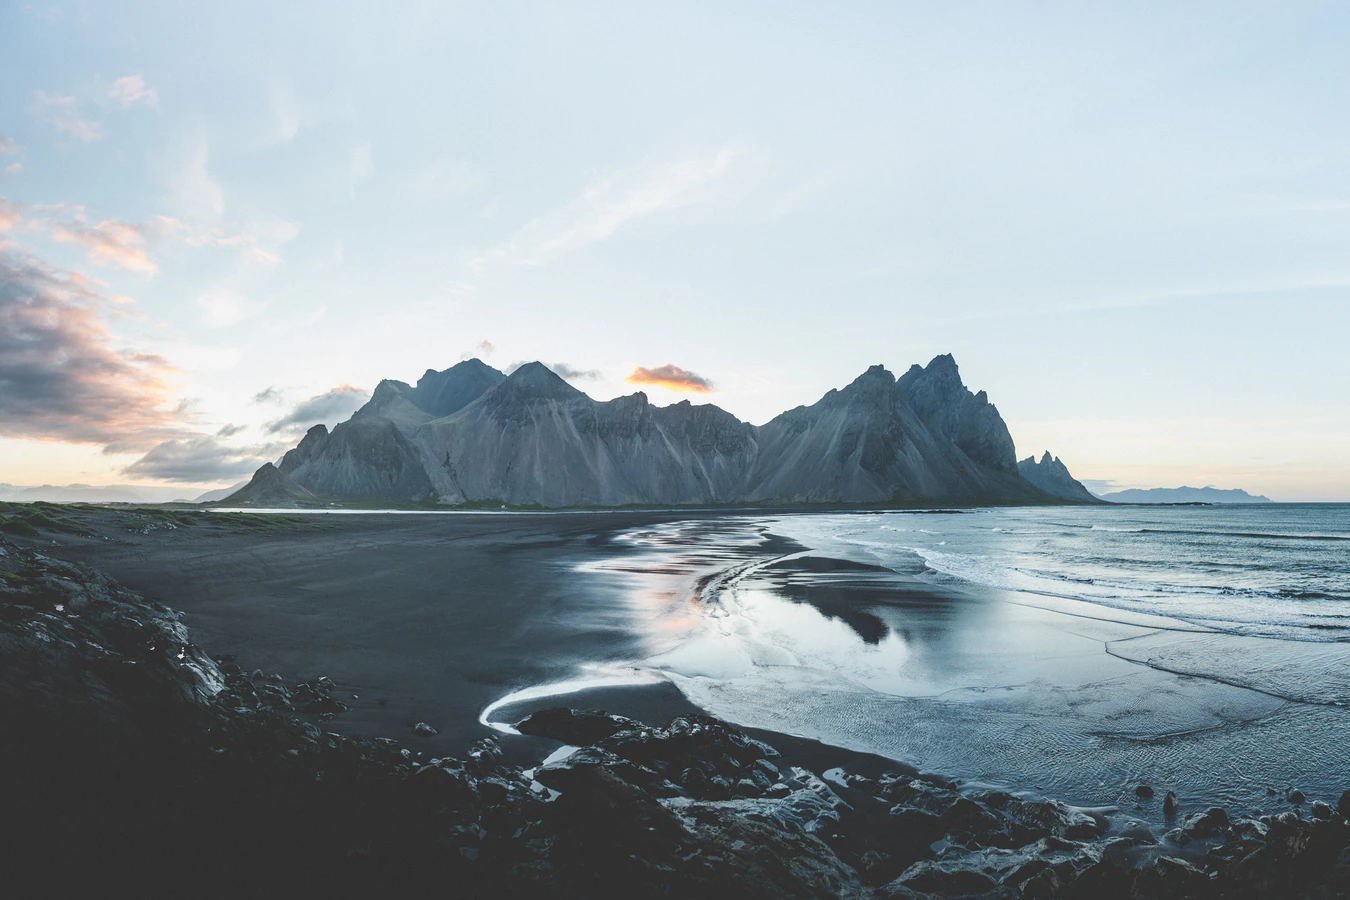
Iceland
There’s no denying that Iceland is one of the most beautiful countries in the world right now. Many are quite adamant about visiting this place. It has a surreal aesthetic. It is like a blend of fantasy and reality. This icy planet is genuinely riveting. It can make you feel that all the effort you have spent so that you can go here all paid off. For backpackers, Iceland is a mesmerizing destination.
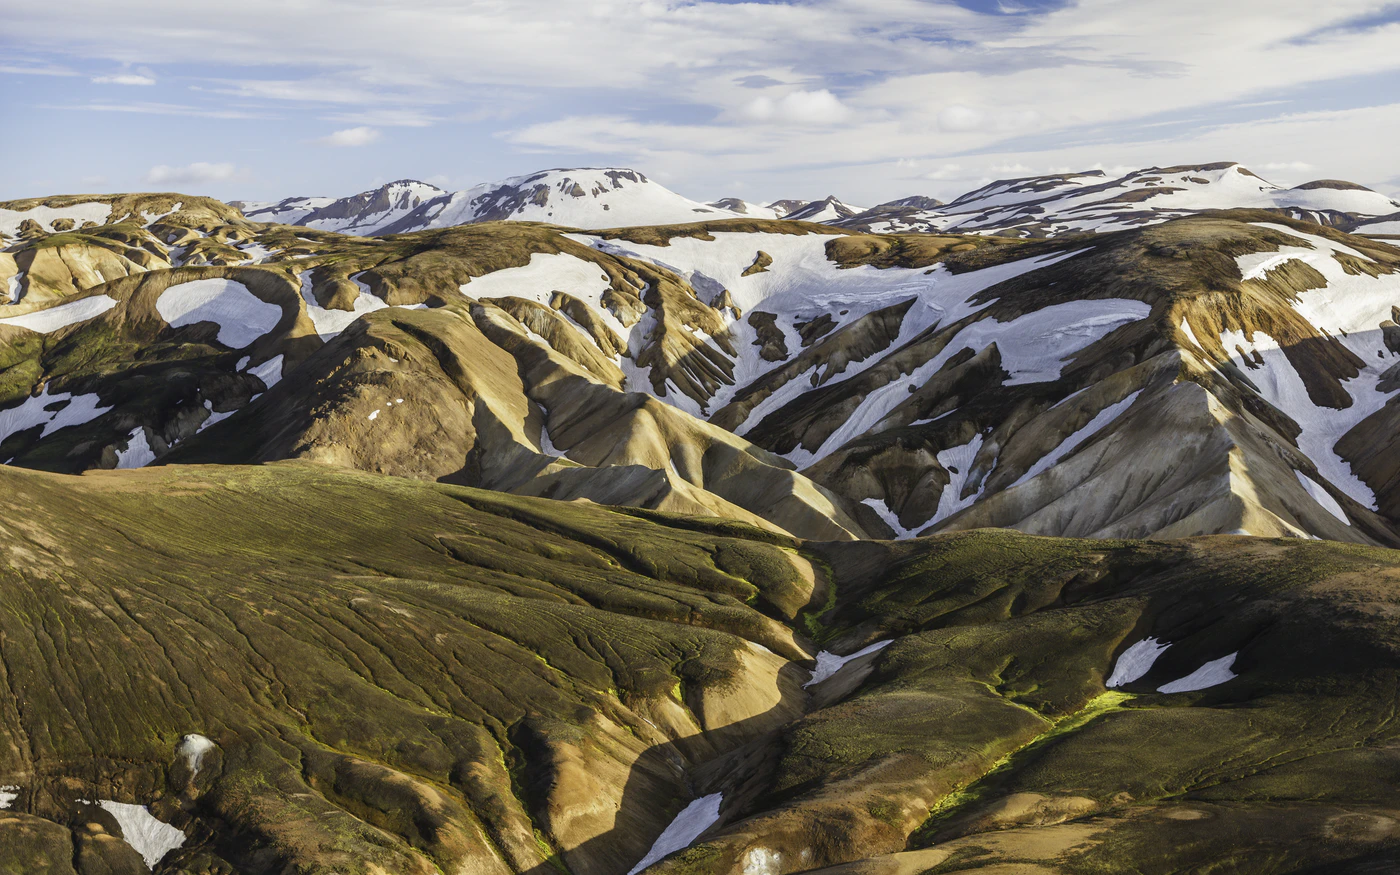
Laugavegur
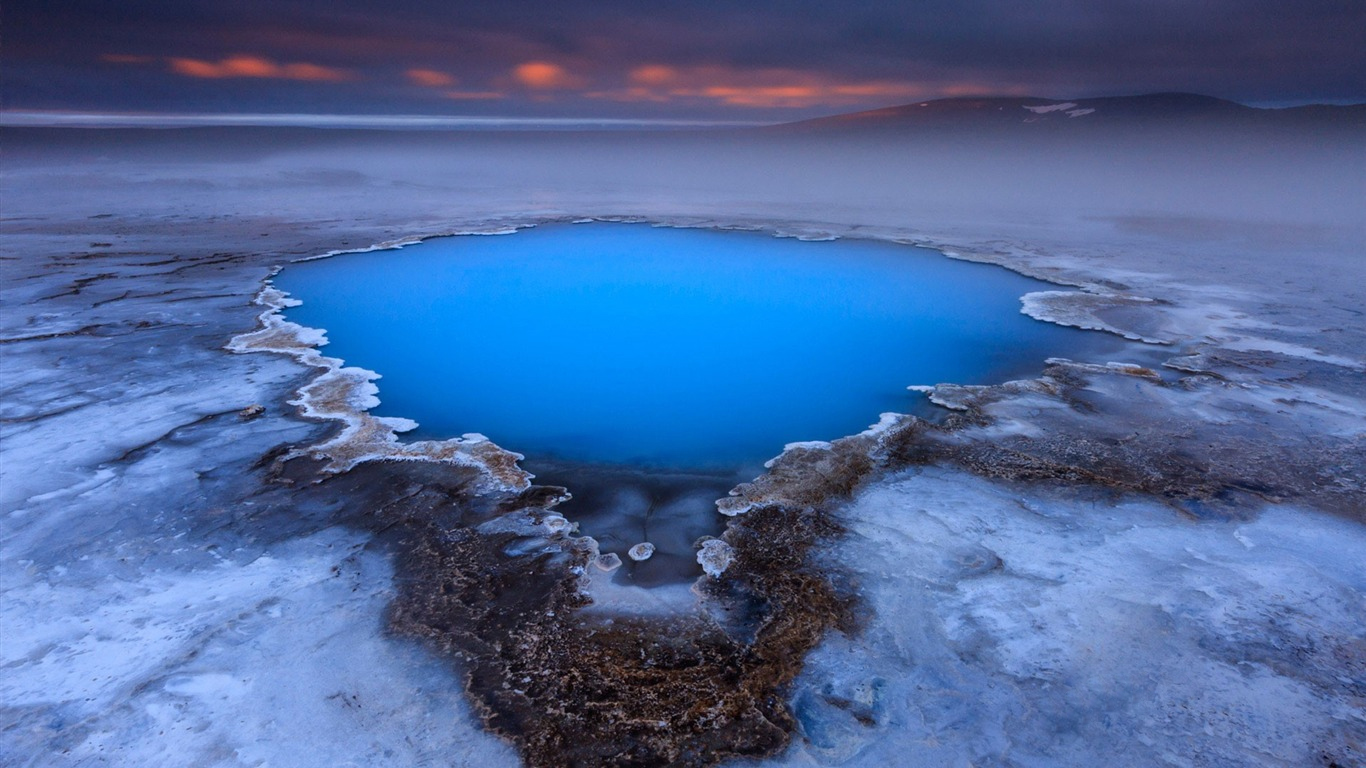
Laugavegur, if translated into English, means “Hot Spring Route.” Of course, this name is quite suitable for Iceland’s most popular hiking trail. It will take you to various landscapes of hot springs, black deserts, and otherworldly black lava fields. The adventure starts in the Landmannalaugar Valley, which is known for its geothermal activities. There, you can refresh yourself in a hot spring before you begin hiking.
Fimmvörduháls
One of the most popular trails for backpackers in Iceland is The Fimmvörduháls Trek. It is a 15.5-mile hike that will take you to some of the most beautiful sites in the country. The best place to start your hike in this trail is in Skógar, which is just sitting at the top of the jaw-dropping Skógafoss waterfall. Taking the Fimmvörduháls trail will lead you to the inner mountains of the area. There, a myriad of waterfalls are waiting for you. The gorges also send a thrill to your spines.
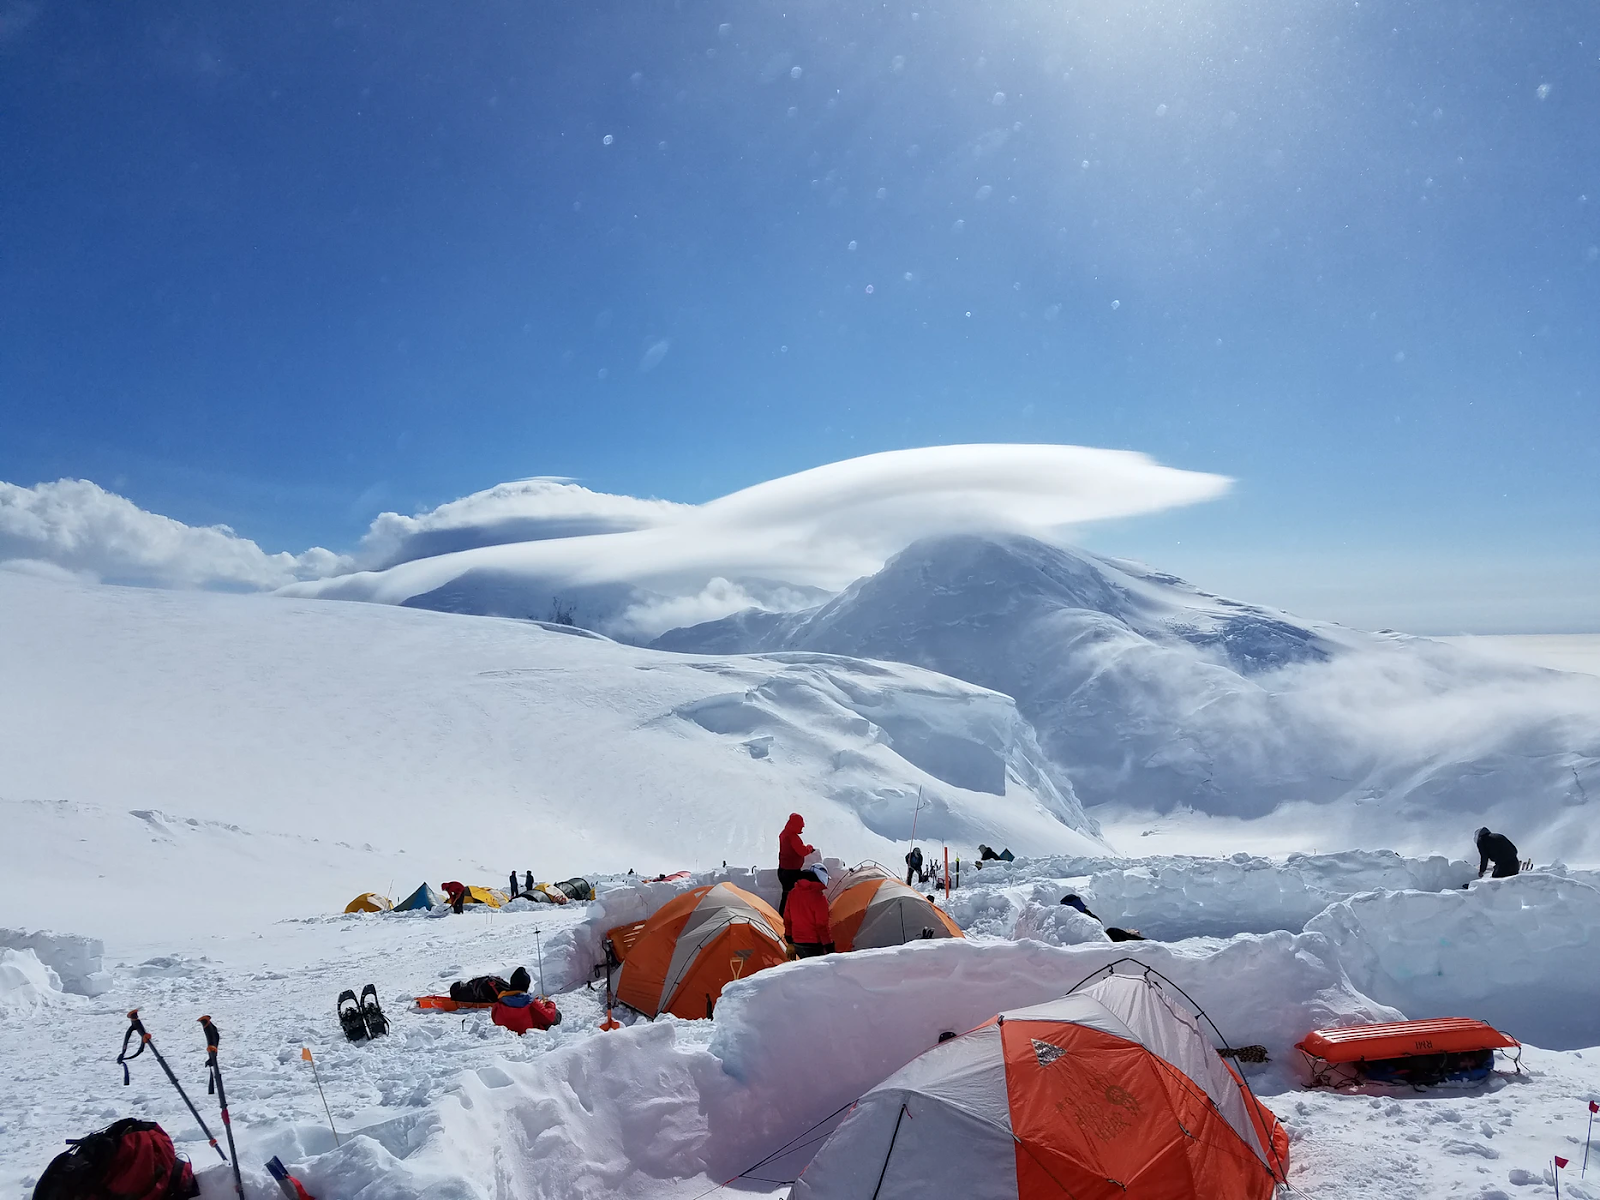
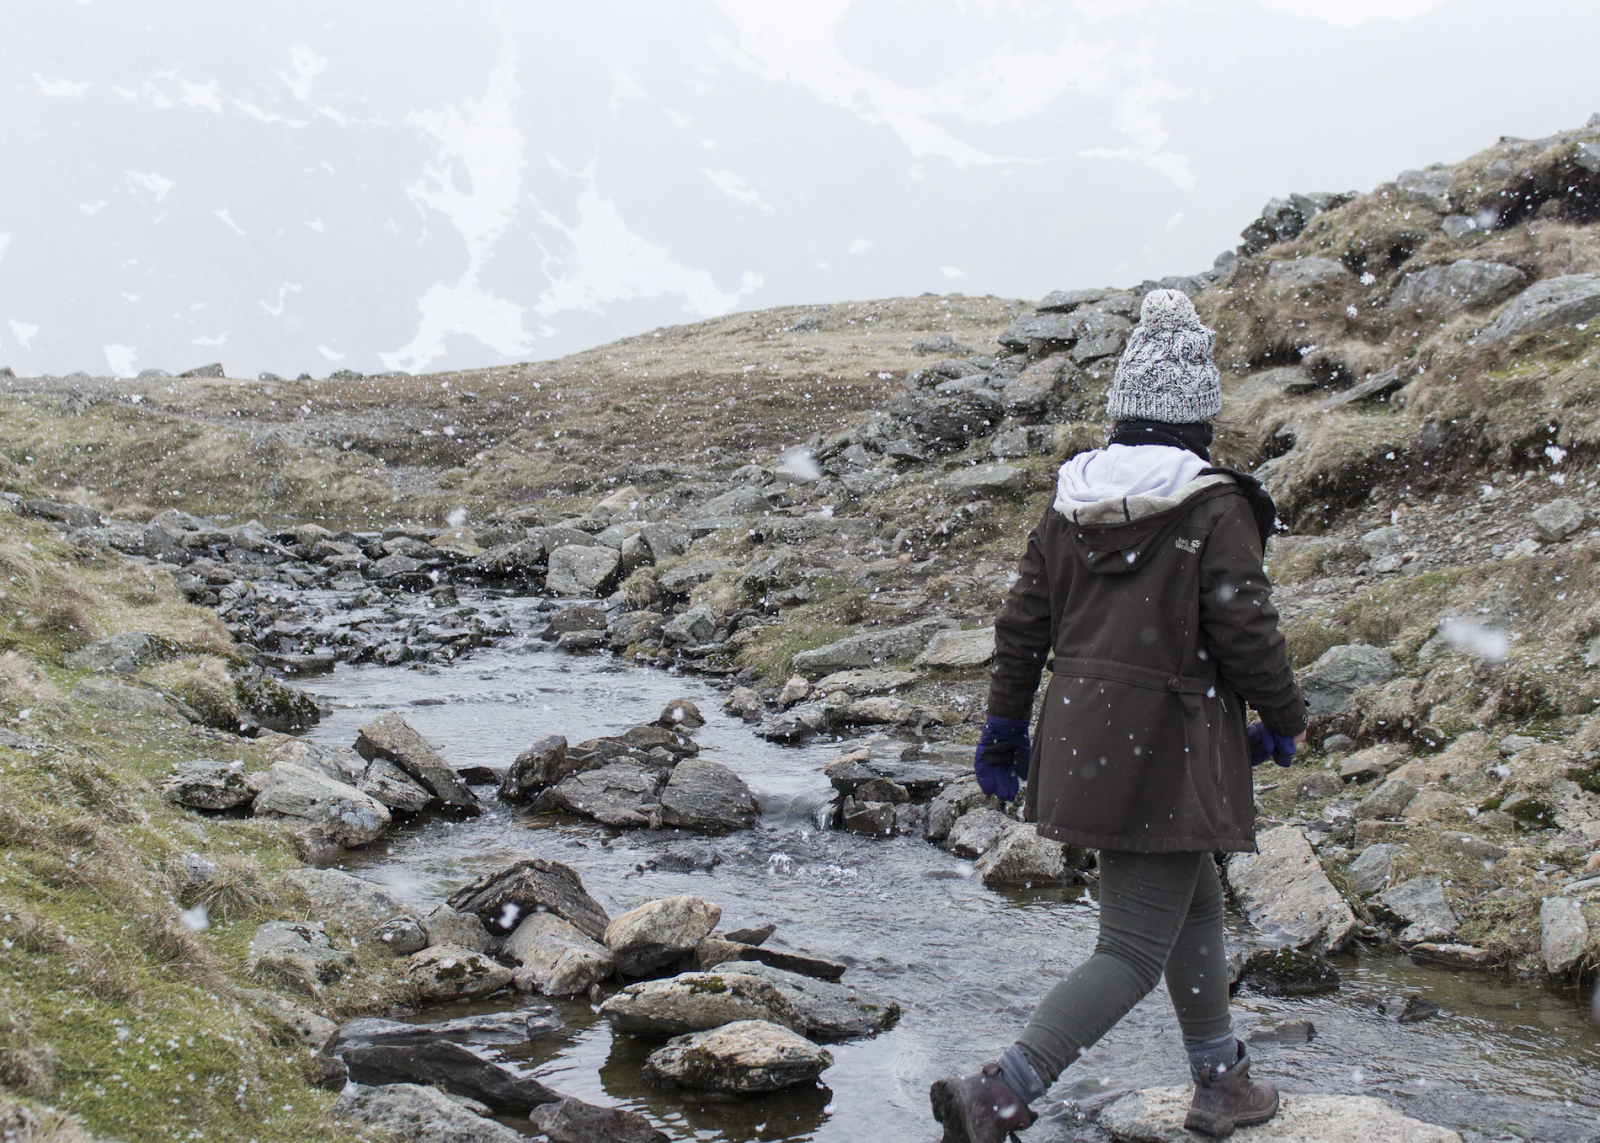
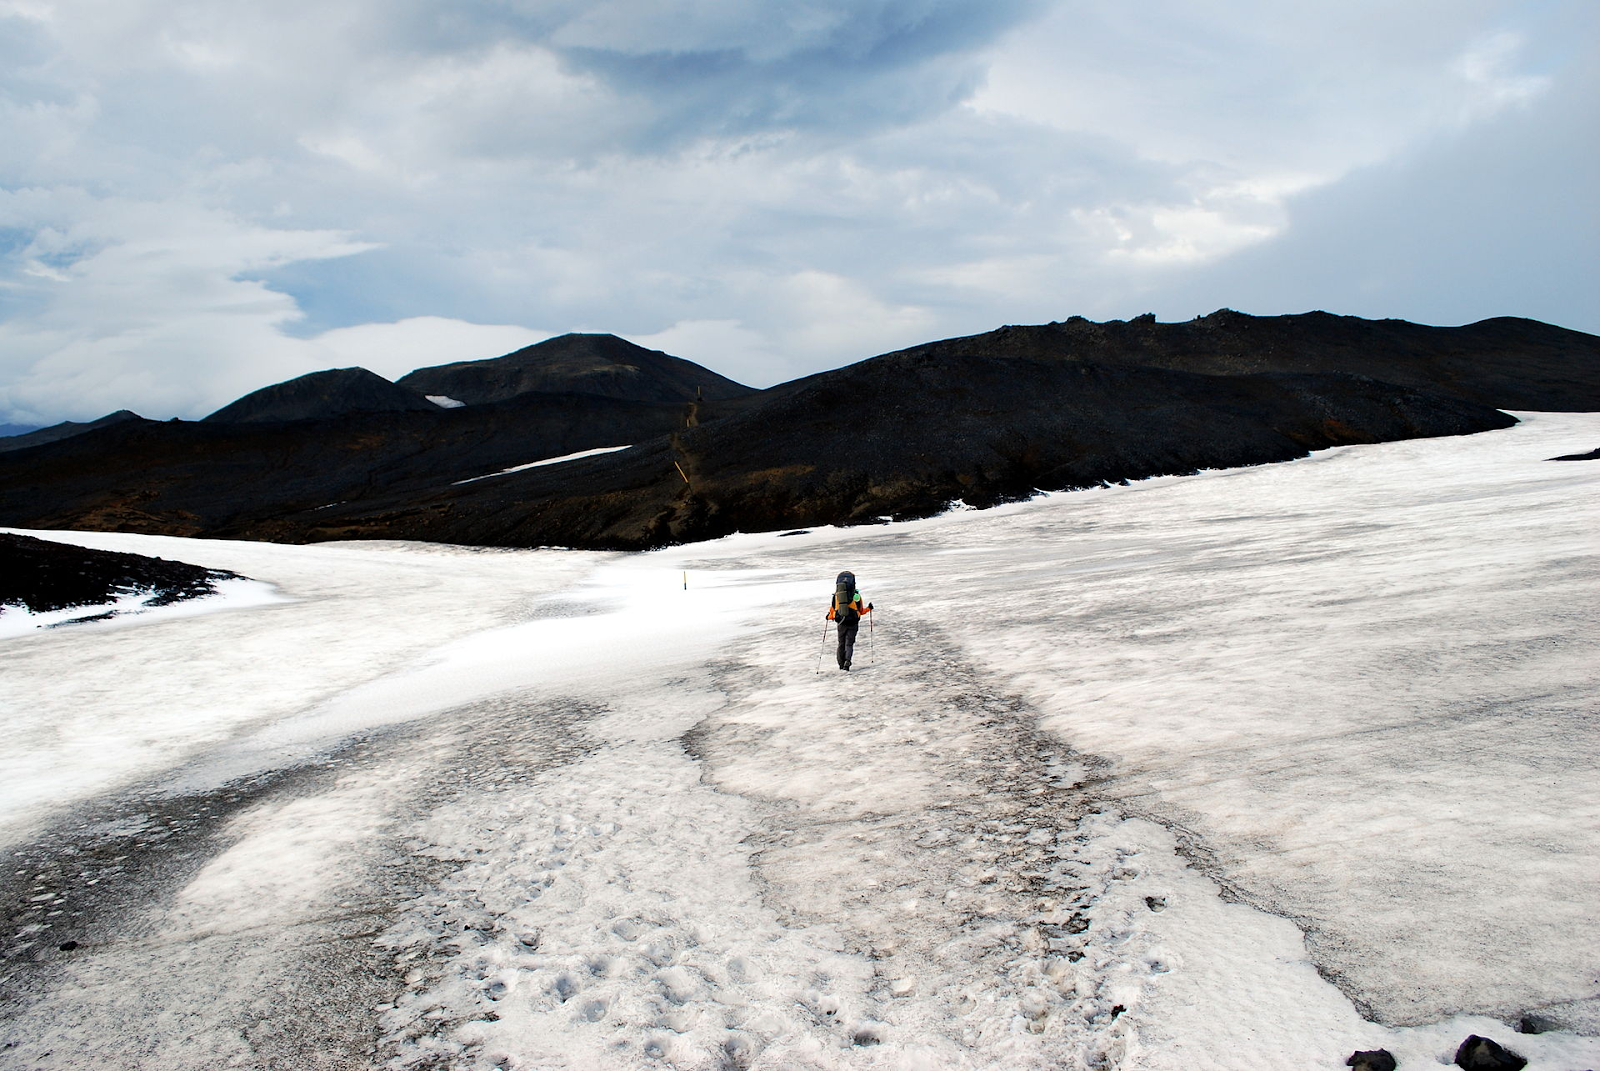
Kjolur Route
The “Haunted Highway” is definitely a place that you should never miss in Iceland. It is a route that will bring you to the middle of two gigantic glaciers in the center of the Highlands. However, keep in mind that this trail is not something that amateurs can take. It has notorious difficulty, thanks to its erratic weather condition. But with the right skills and equipment, overcoming this trek is doable. The scenery that you can stumble here is a reward for your efforts.
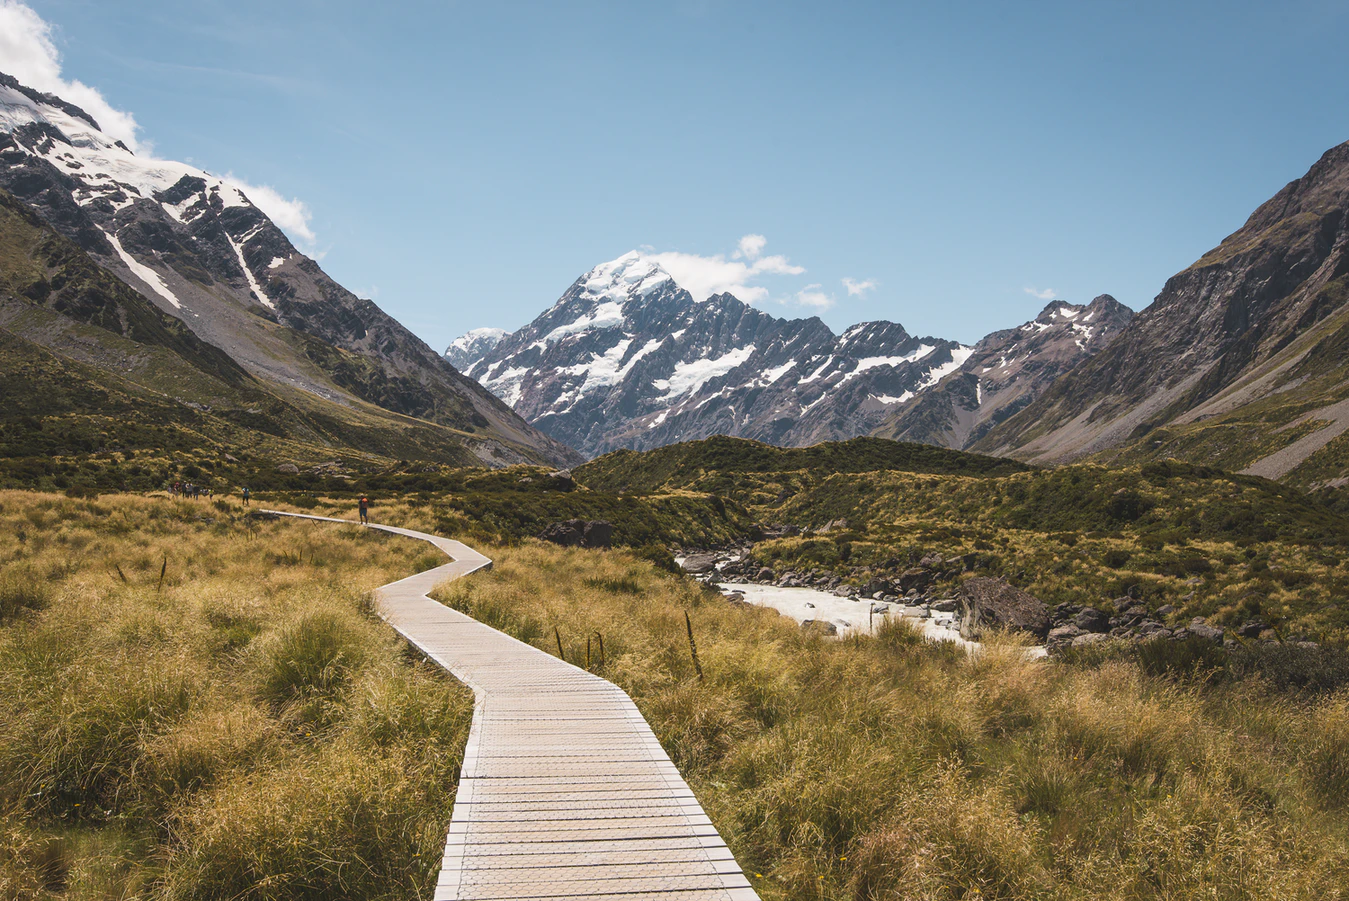
New Zealand
If you are looking for a place that is breathtaking and budget-conscious at the same time, New Zealand is your top choice. This country features a plethora of landscapes that are great for backpacking and other outdoor activities. Locals are friendly, too, so there’s nothing that you have to fear here. Travelers all over the world fly because of these magnificent feats! Once you are in New Zealand, take any of the following destinations.
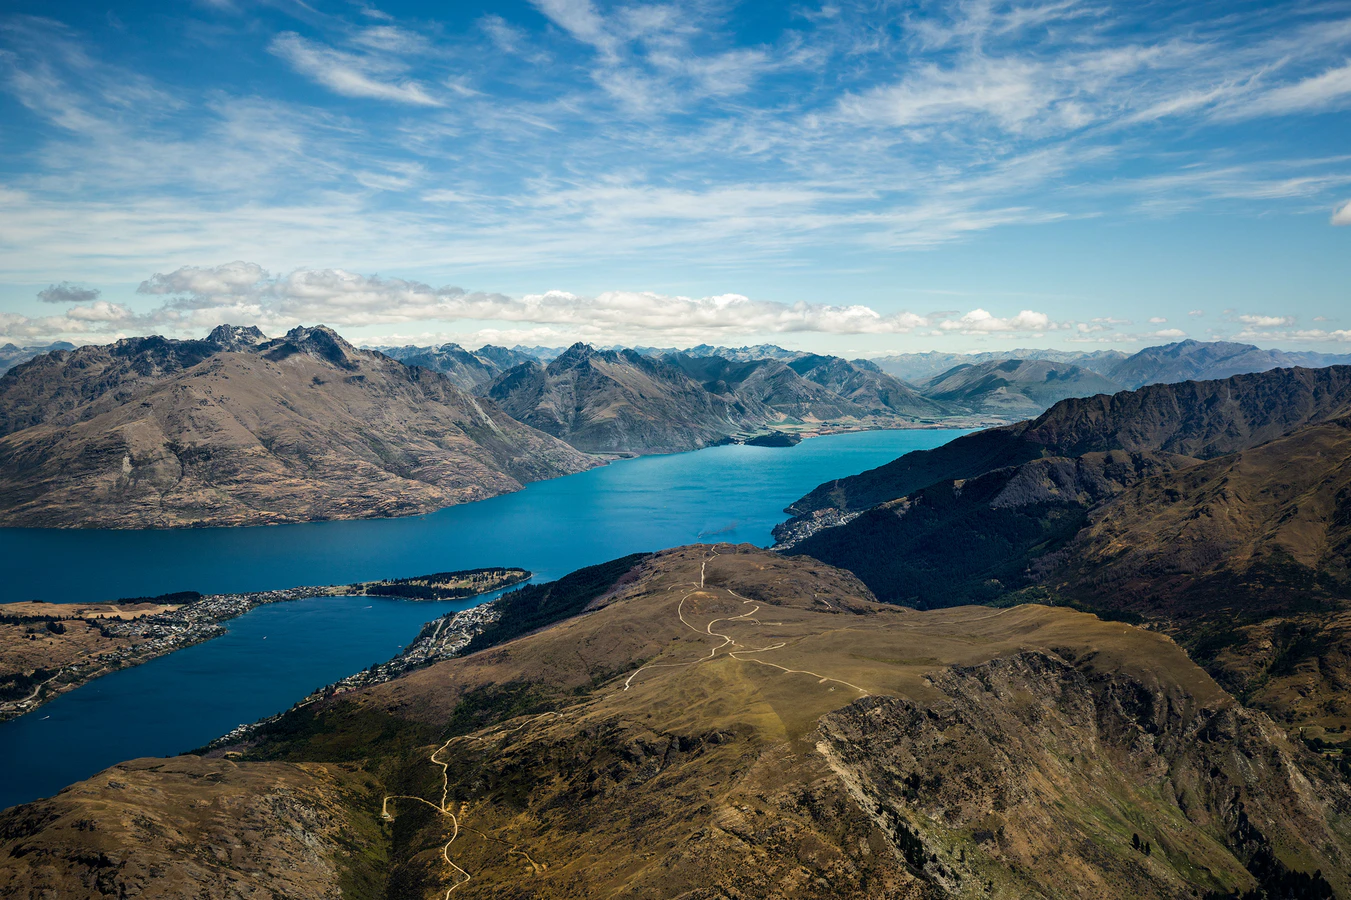
Queenstown
When it comes to New Zealand, Queenstown will undoubtedly ring a bell. It is a tourist hotspot that is situated on the bottom part of the South Island, specifically on Lake Wakatipu. Queenstown also offers a panoramic view of the Southern Alps. Don’t worry. Backpackers have a lot of places to stay here. One of them is doing the Nevis Swing, which will certainly make your heart skip a lot of beats.
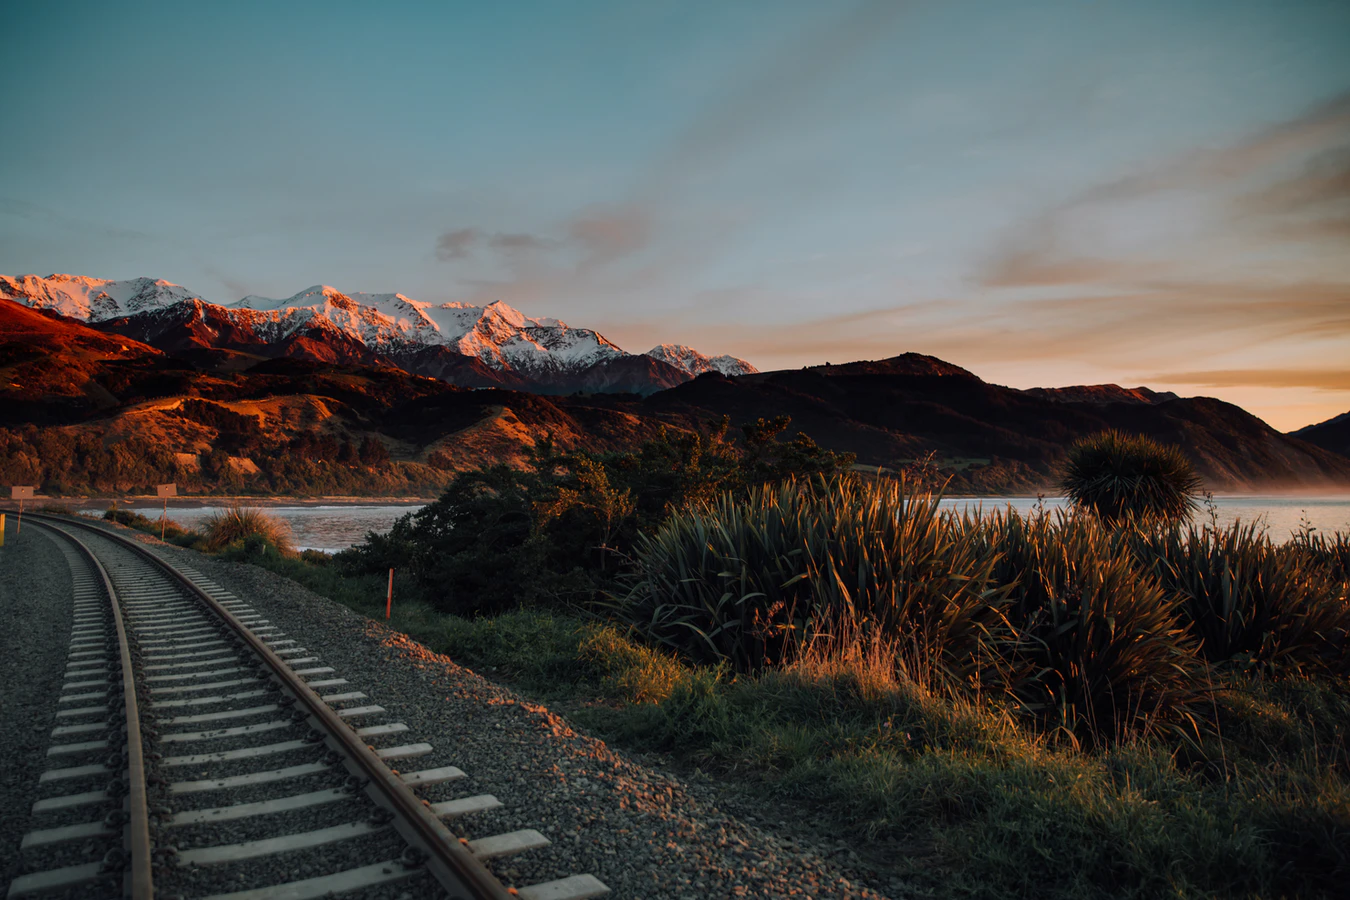
Kaikoura
One of the highly recommended backpacker destinations in New Zealand is Kaikoura. This is the very place that lets you experience trekking a steep mountain peak and swimming in pristine waters with dolphins all the same time! There are numerous adventures that you can relish in this town. You will never get bored. From the wildlife to the people, Kaikoura is simply one-of-a-kind.
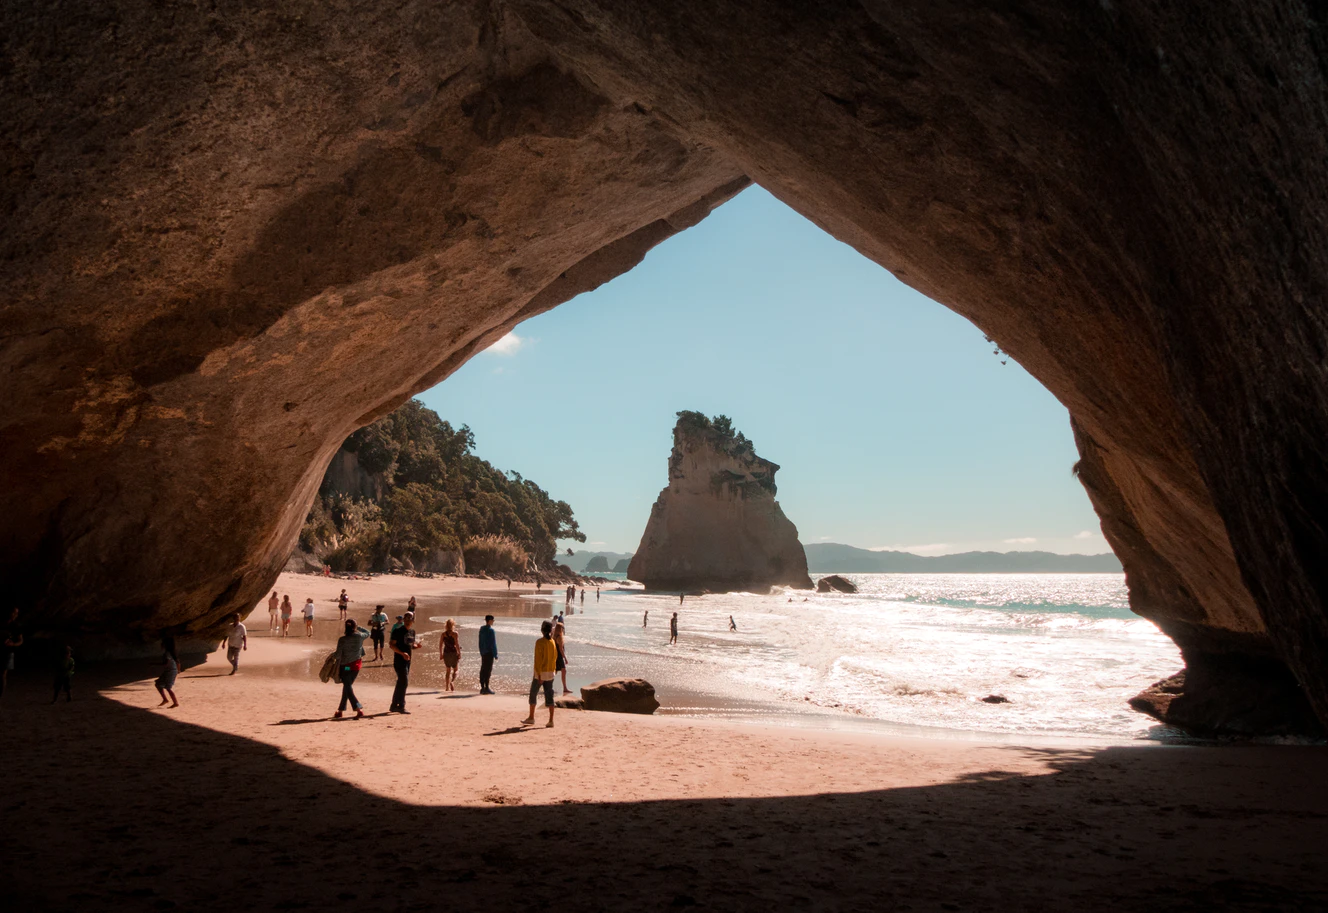
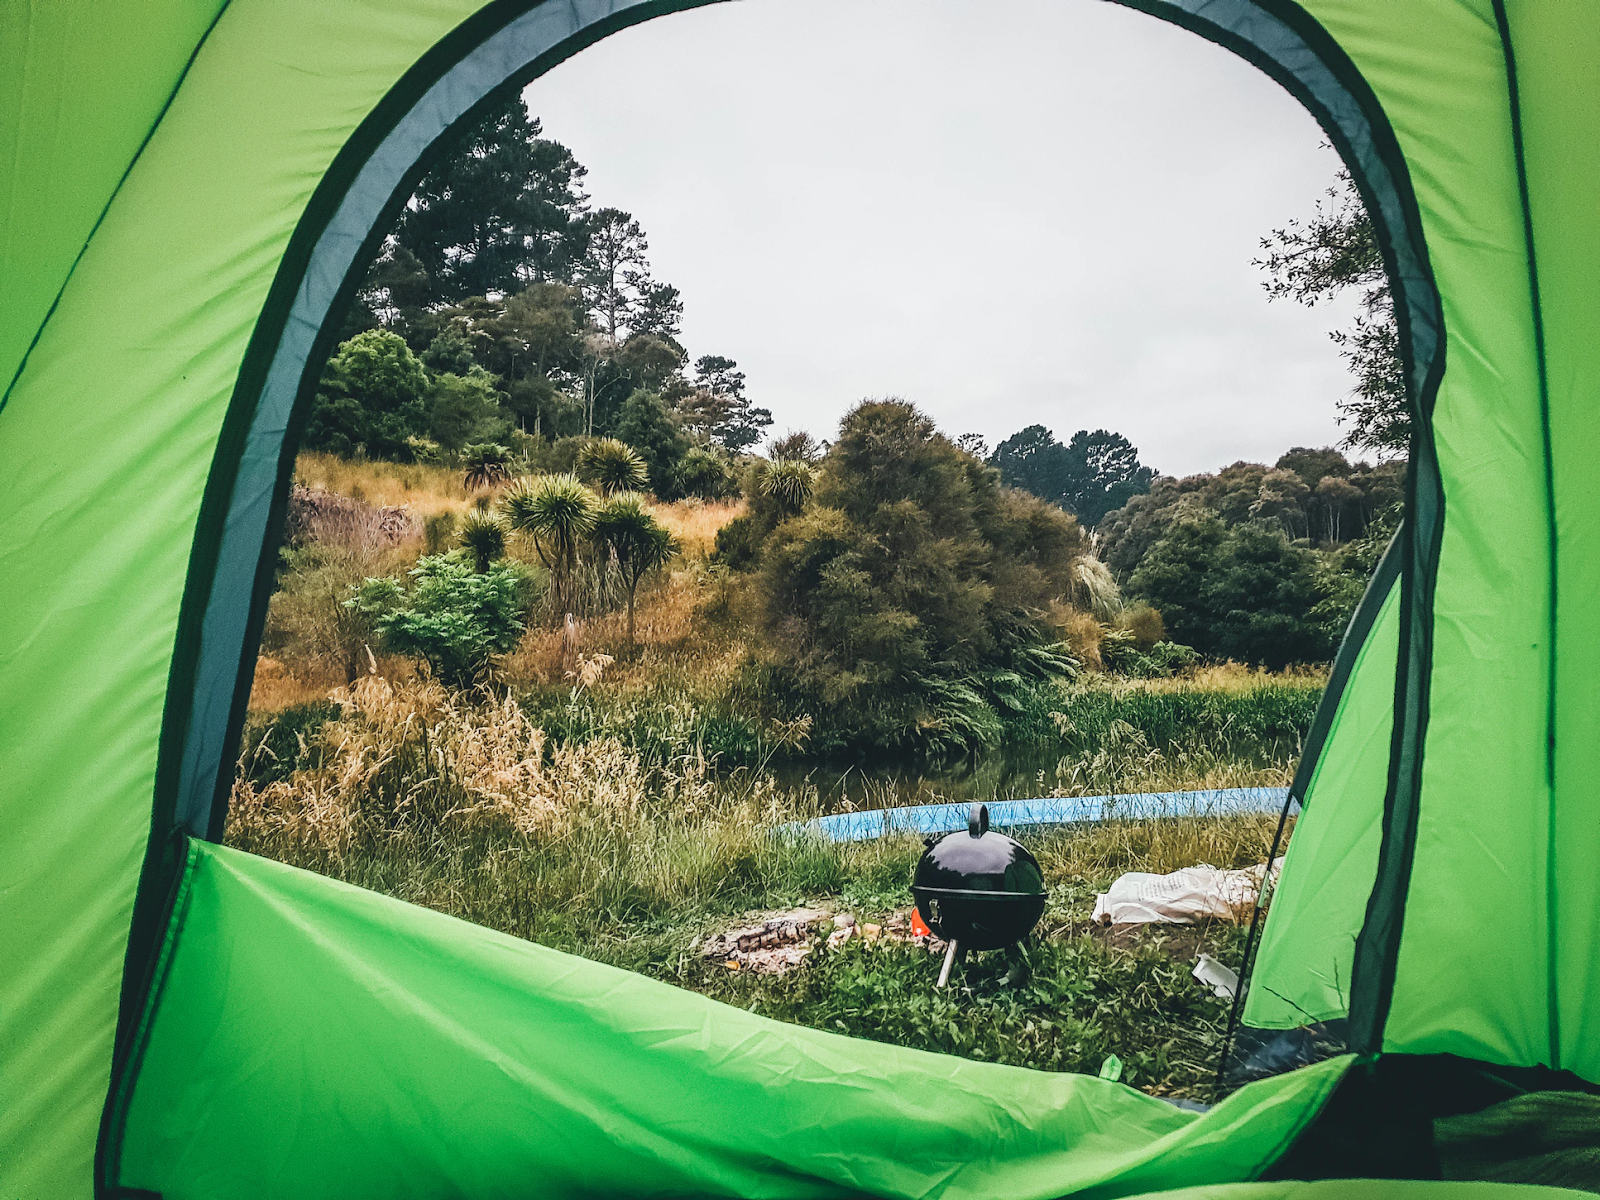
Whanganui
When you are in the North Island of NZ, you should set your feet to Whanganui. It is located adjacent to the West Coast, which is in between the Palmerston North and New Plymouth. The town itself is a haven for backpackers. Paths and tramps are just waiting for you to explore. Even the “Bridge To Nowhere” is a place that you shouldn’t miss.
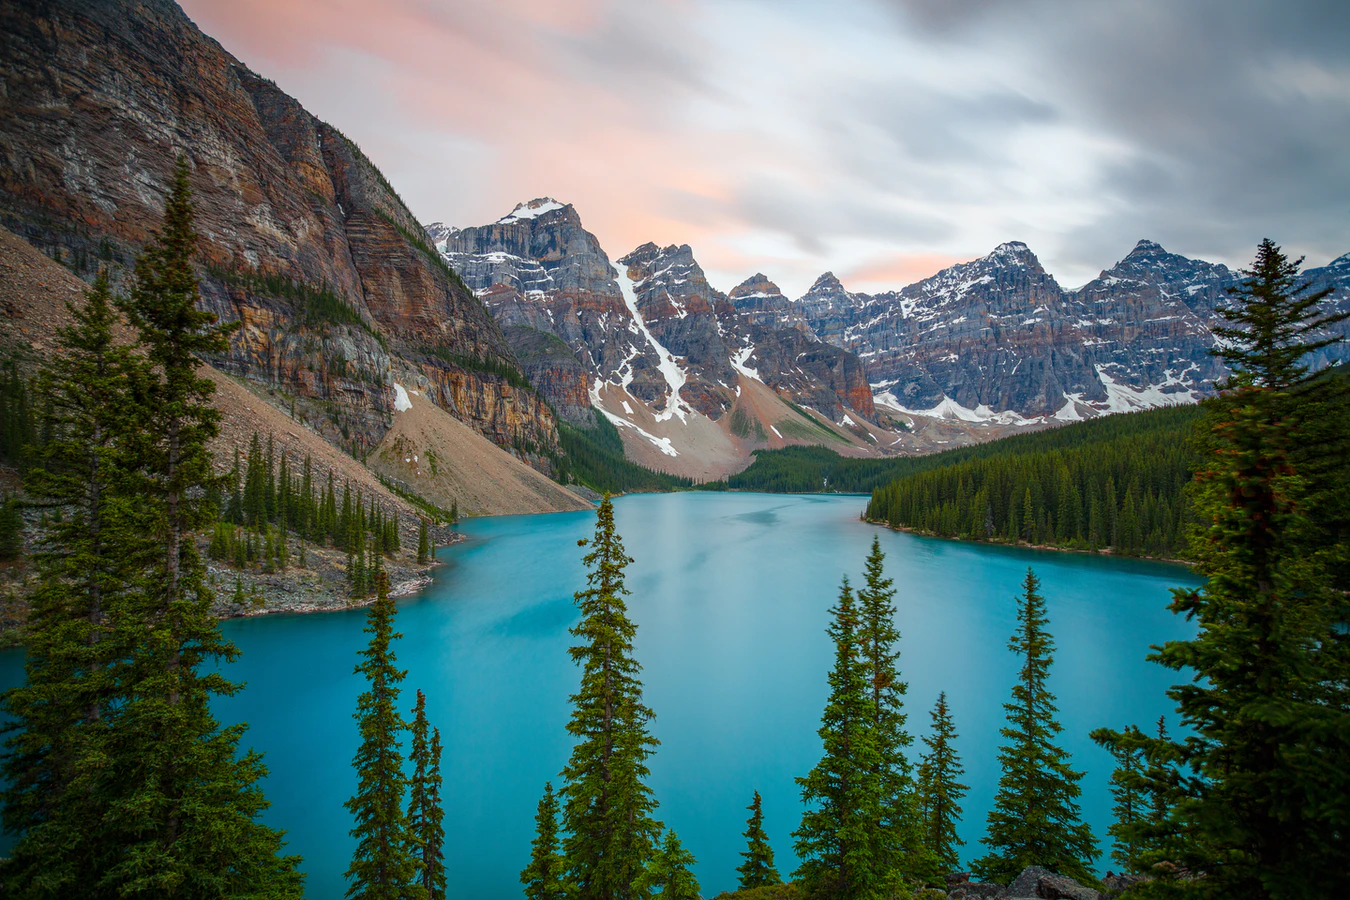
Canada
Canada is the perfect place for a multi-day backpacking trip. It is teeming with different places that many backpackers would certainly love to go. Of course, the country is not just known for its hospitality. It is also known for its epic trails, some of which are not part of a regular backpacker’s radar. This time, I am going to highlight some of the most fabulous backpacking destinations that only Canada can showcase.
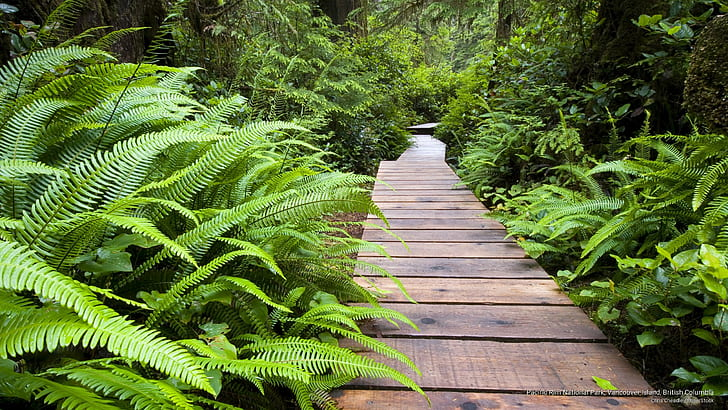
Pacific Rim National Park
The Pacific Rim National Park is a 75-kilometer stretch of pure epic trail. One could say that it is not the easiest route, but it is definitely worth conquering. It features sand beaches, rivers, and ancient evergreens. The wildlife here is pretty diverse, as wolf and whale sightings are pretty common. You cannot just complete this trail in just a single day. Veterans would take at least five days to encompass the park.
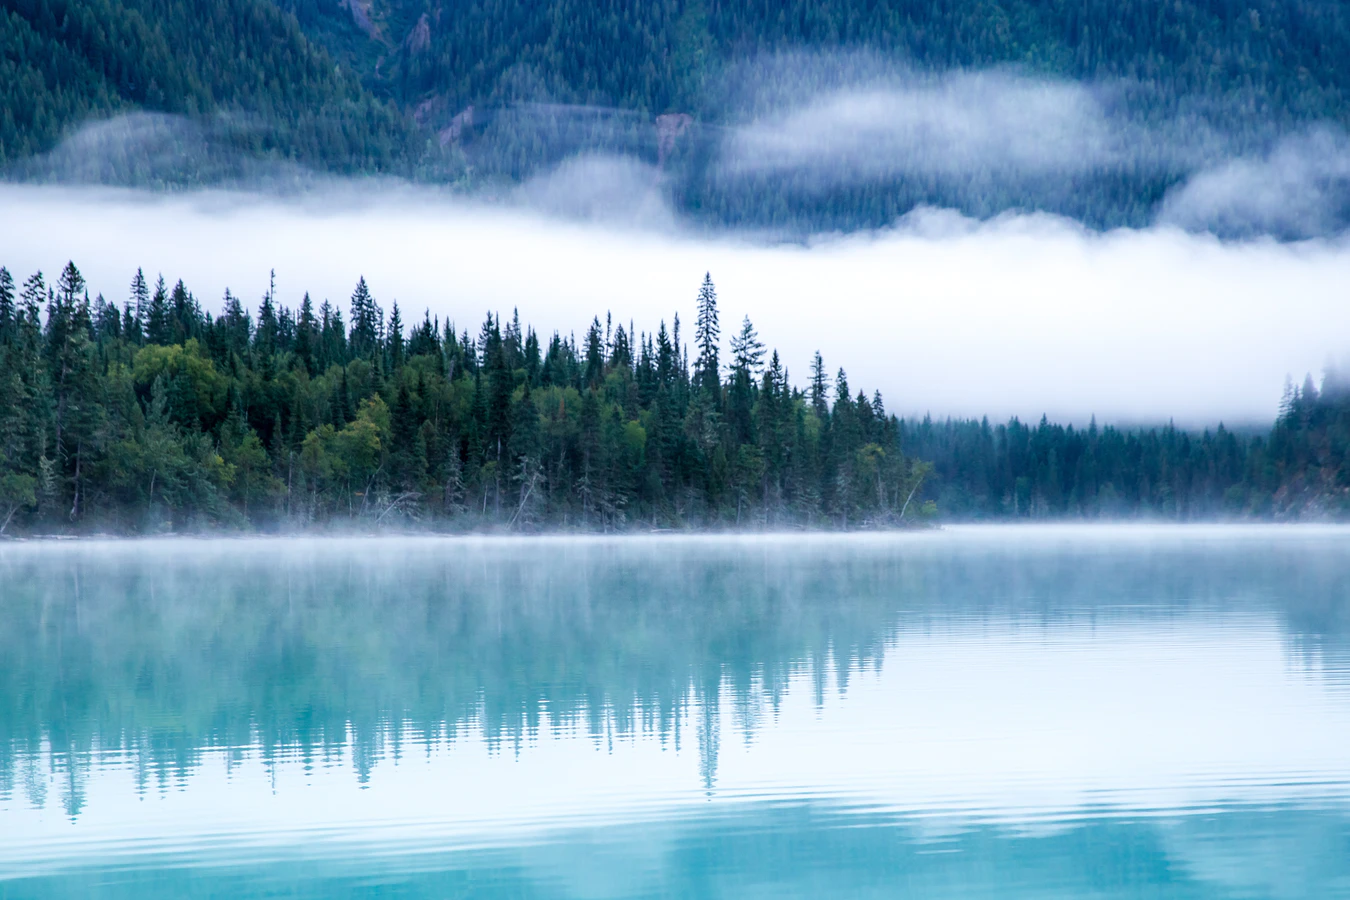
Berg Lake Trail
The Berg Lake Trail is situated in the towering Mount Robson Provincial Park, which is just near the British Columbia-Alberta border. The trail takes up to 23 kilometers, making it one of the highlights of the Rocky Mountains. While in this trail, you will be able to witness the ever-amazing Emperor Falls and Kinney Lake. A series of mountain ranges and vistas will accompany you in your journey. If you are lucky enough, you will be able to see large chunks of ice separating from the gargantuan glaciers.
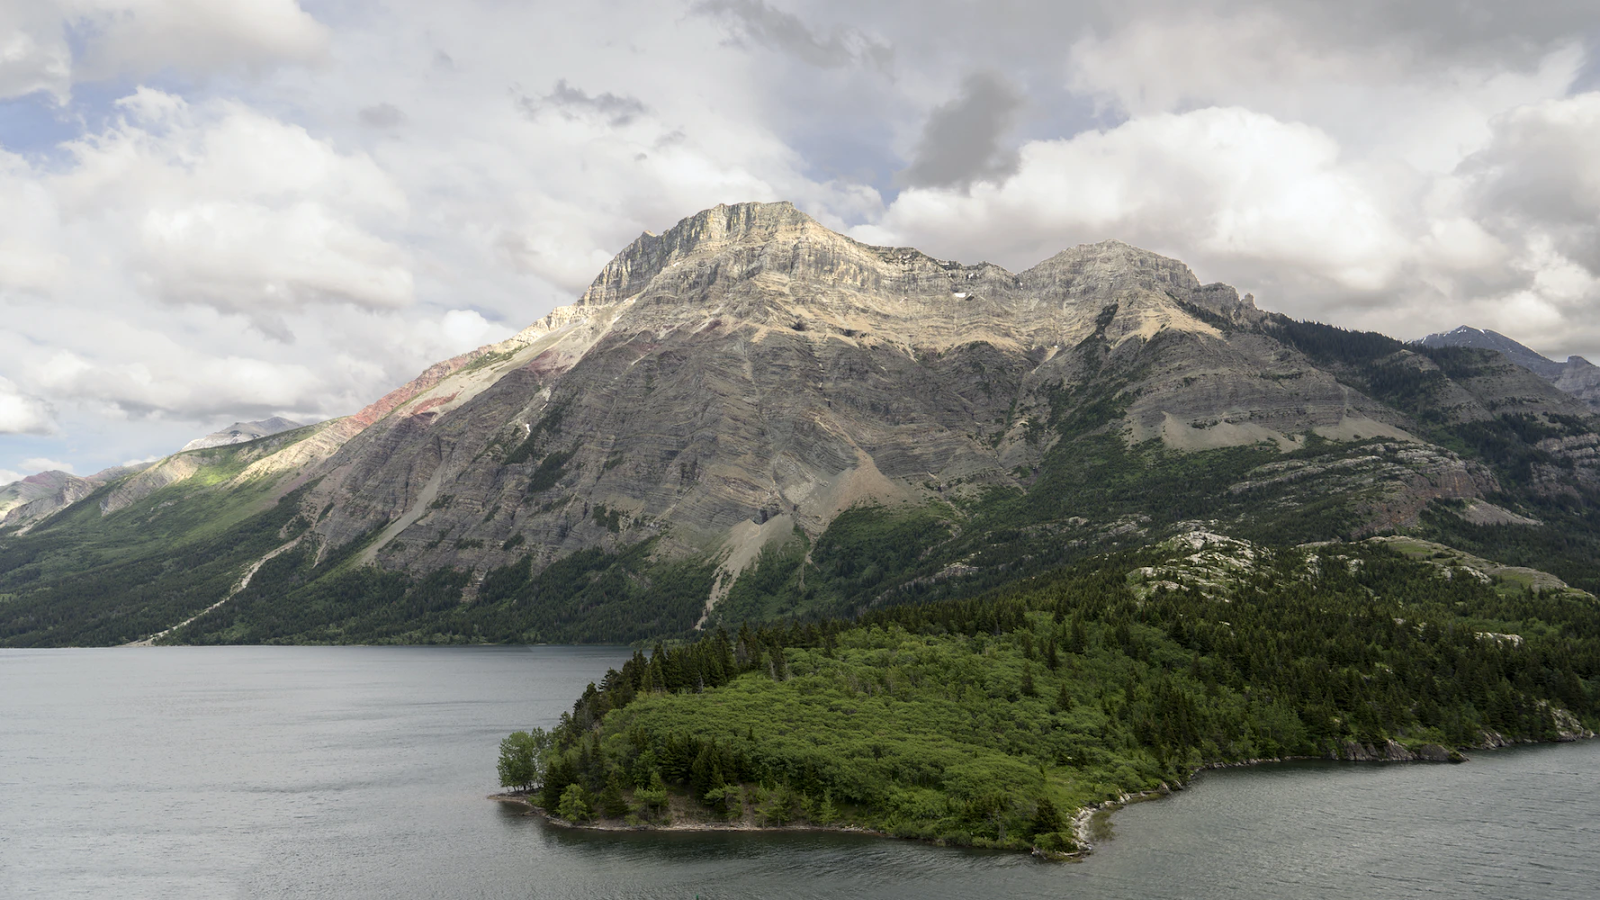
Tamarack Trail
When you are in Canada, you should never miss the Waterton Lakes National Park. There are numerous backpacking trails here. But if you want the best one, then you should jaunt right away to the Tamarack Trail. The trail is named from the local trees that are sprouting tall in the area. It is a good place for amateurs because it is not too hot. Stay here for at least three days so that you can enjoy watching the alpines while traversing the ridgelines.
Australia
Backpacking in Australia is quite popular. After all, this place is filled with backpacking destinations that will captivate your heart, but never your expenses. Australia is synonymous with adventure. It is not only wildlife that you should witness; you should also see the allure of its natural landscapes and people. Any backpacker who has set foot in this country can only say good things about it. It is an excellent tour that you shouldn’t miss.
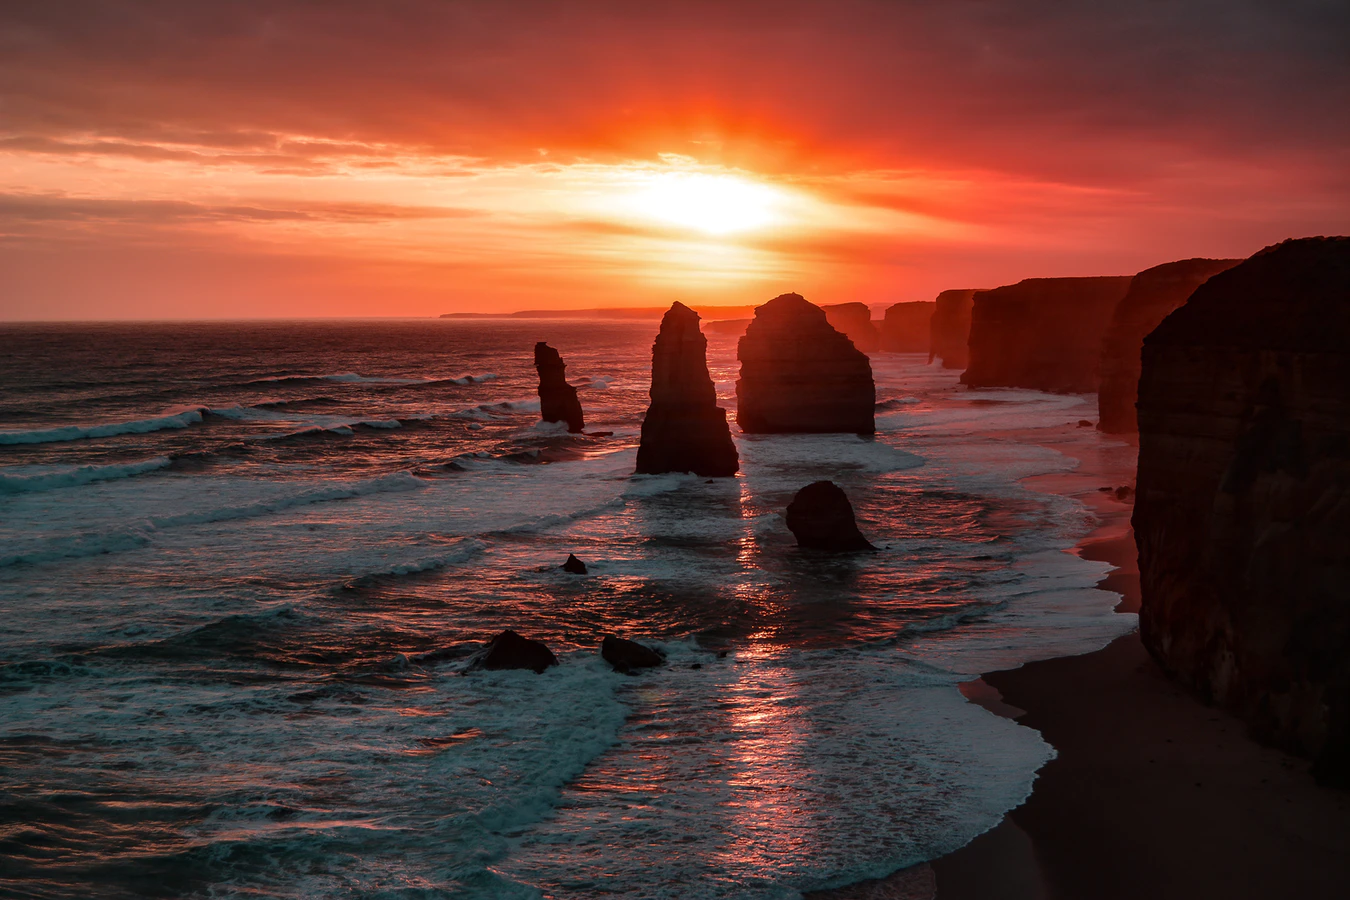
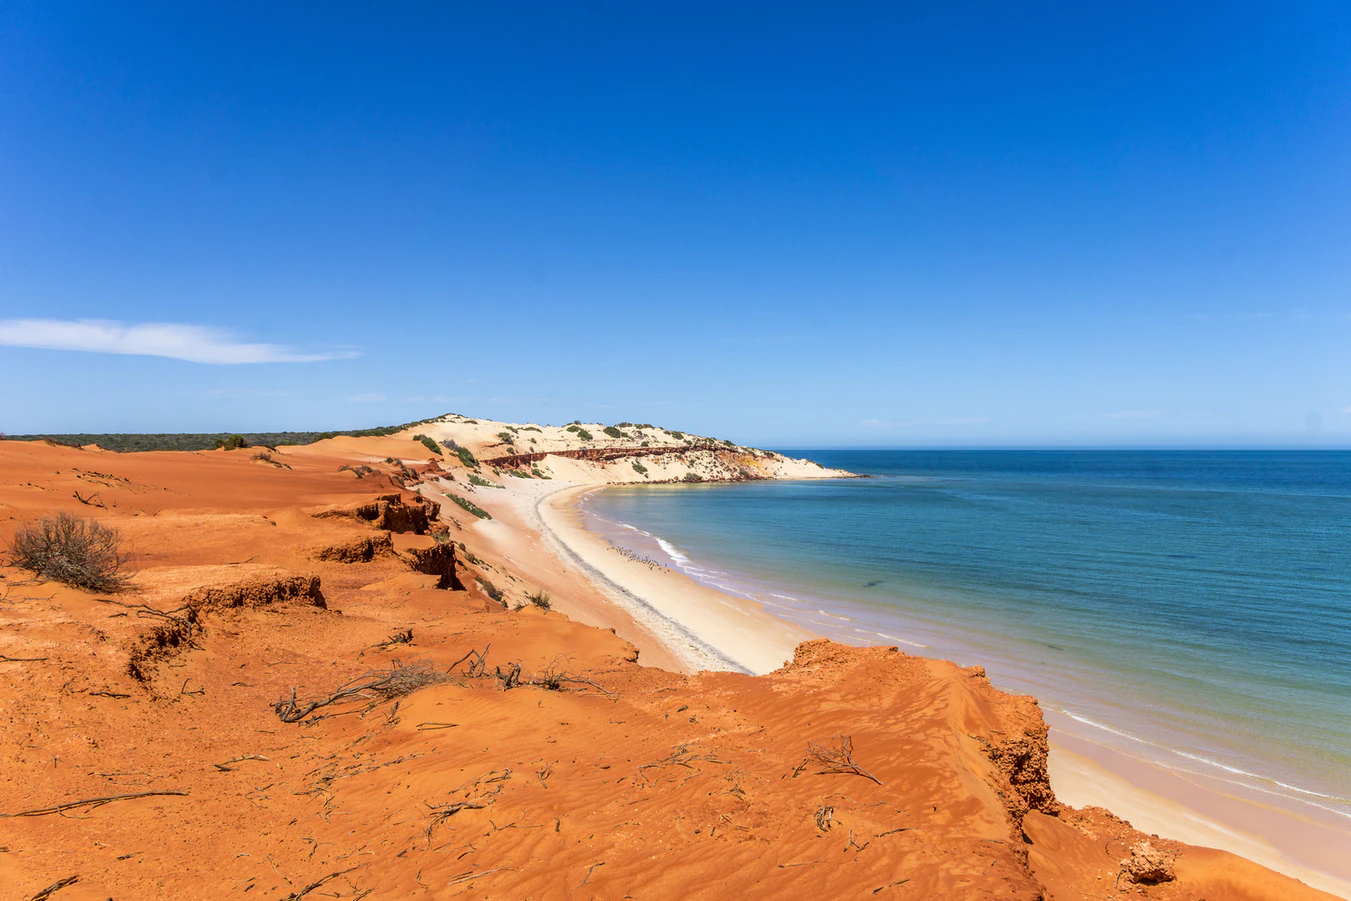
Great Ocean Road
The Great Ocean Road is the first destination that a backpacker should go to Australia. It is considered as the fanciest trip for anyone who wants to witness the glorious oceans that surround the country. Stretching for at least 240 kilometers, the Great Ocean Road features an extensive link of cliffs and bends that link Melbourne from Torquay. It is a sin if you are going to miss this journey. The unadulterated national formations here are screaming for you to see them. The 12 Apostles are also located in this long-winding drive.
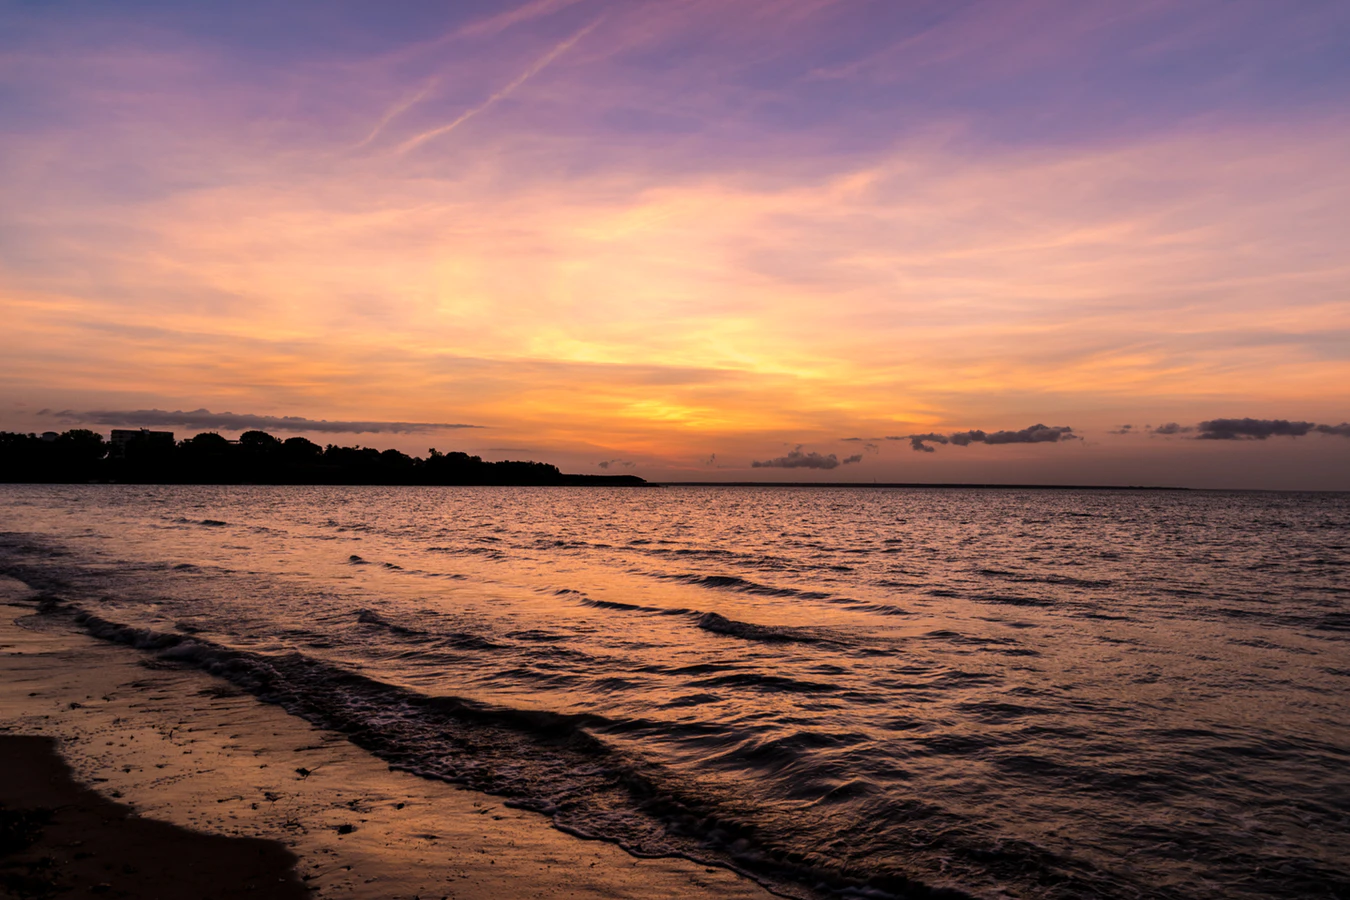
Darwin
Australia is also a home of a tropical haven for every backpacker. If you badly want to experience the splendid scenery of Australia, going to Darwin is a good decision. It is the home of the Litchfield National Parks and Kakadu. Aside from that, it also has its own recreational strip, which you can find in Mitchell Street. From bars to hostels, everything is present here. In fact, one of the duties of a backpacker when going to Darwin is surviving its nightly outdoor parties.

Airlie Beach
The Whitsunday Islands is only accessible if you are going to pass through the Airlie Beach. The latter is located at the end of the tropical spots of North Queensland. Backpackers have to use a yacht to traverse the entirety of the isles. While cruising, you will be able to witness the underwater reefs that serve as the treasure trove of the area.
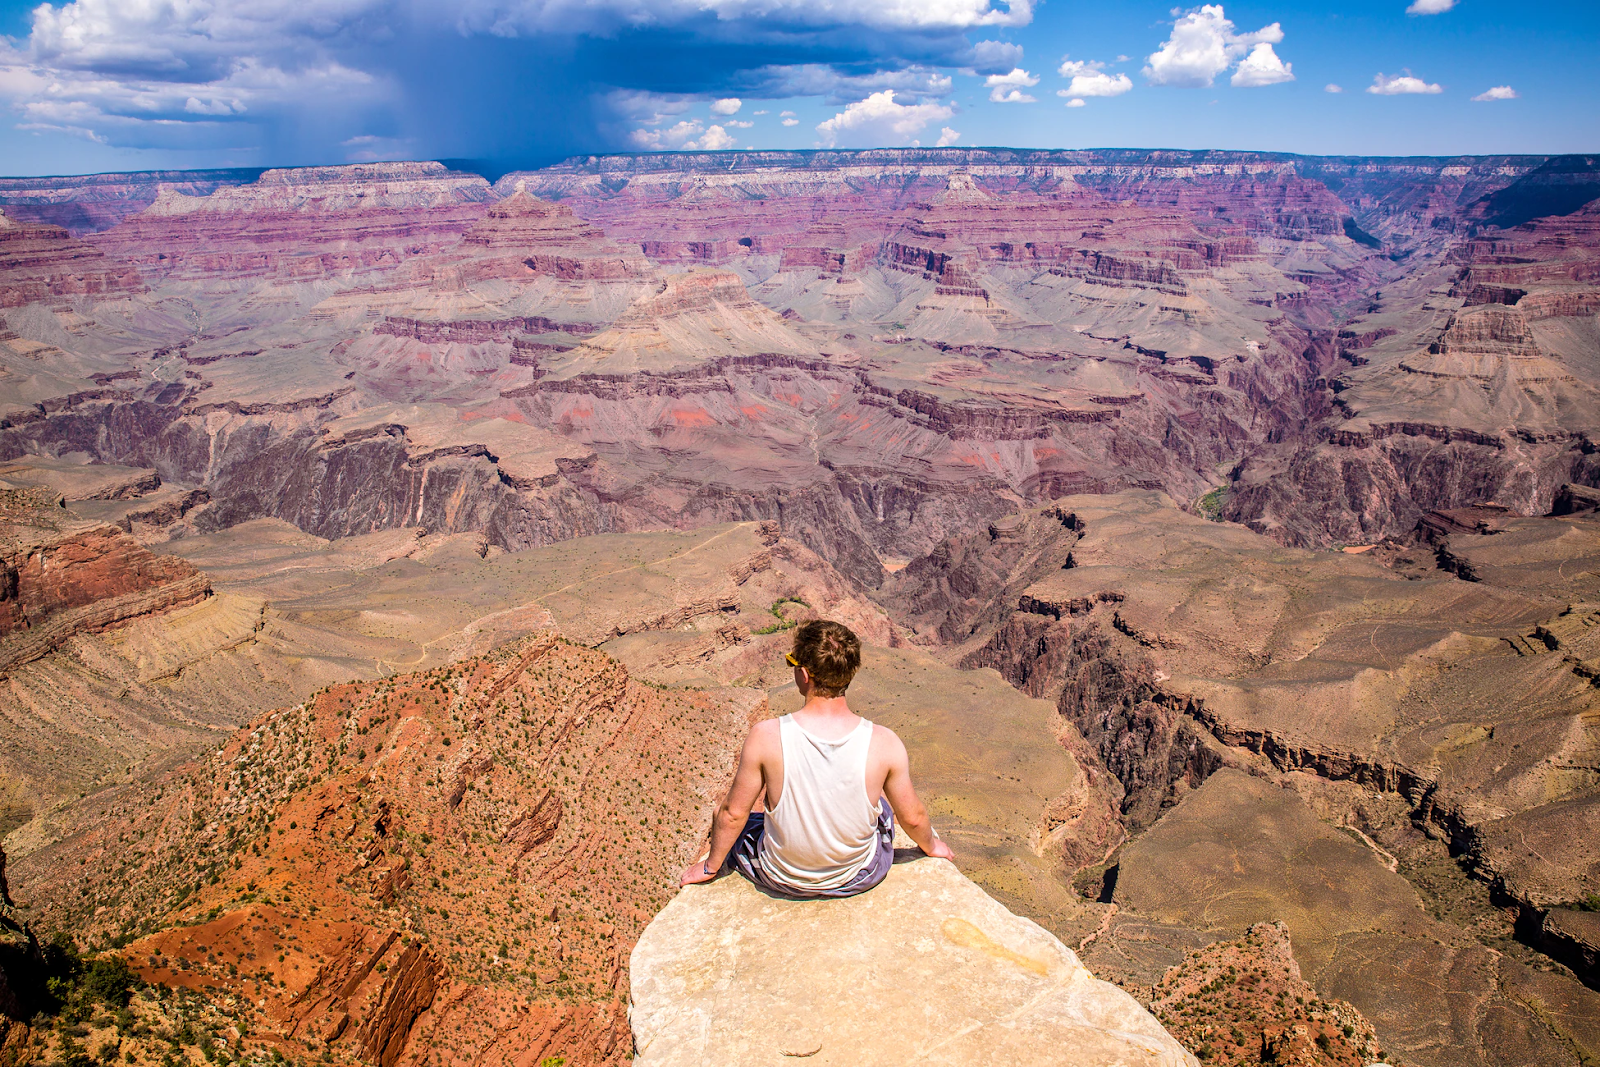
United States
It is not a secret anymore that the United States is the home of some of the finest outdoor destinations in the world. For backpackers, this place is guaranteed heaven. It has a plethora of backpacking grounds that will test your skills. But at the same time, your eyes will glimmer in joy once you are able to experience the stunning beauty that the American natural sites can fully display. Here are some of those backpacking places you should never miss here.
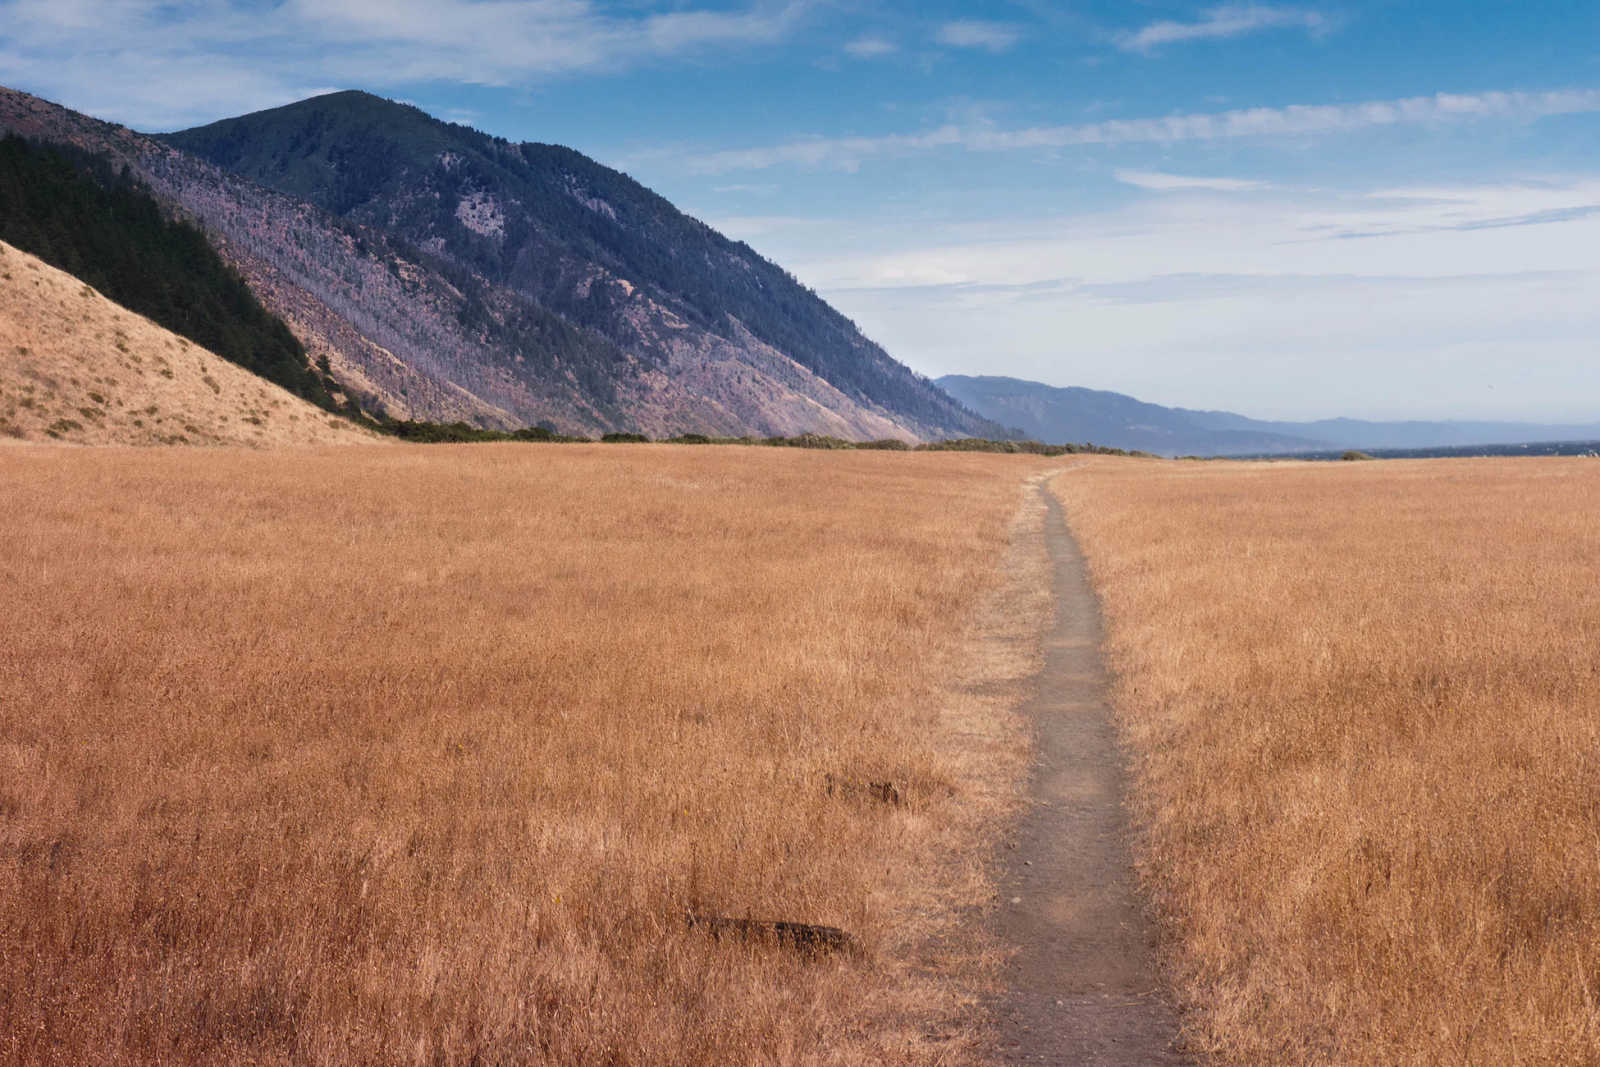
Lost Coast Trail
The Lost Coast Trail is situated in the Northern California region; it is a 24-mile wilderness trail that you can see once you go beyond the ever-luxurious Pacific Coast Highway. This area features some rocky beach strips, with overwhelming sand dunes that will surely test your grit. Of course, backpacking here is also recommended for beginners. It is just a relatively short jaunt; you can complete it within two days. If you are planning to go here, make sure you have a permit at the Bureau of Land Management.
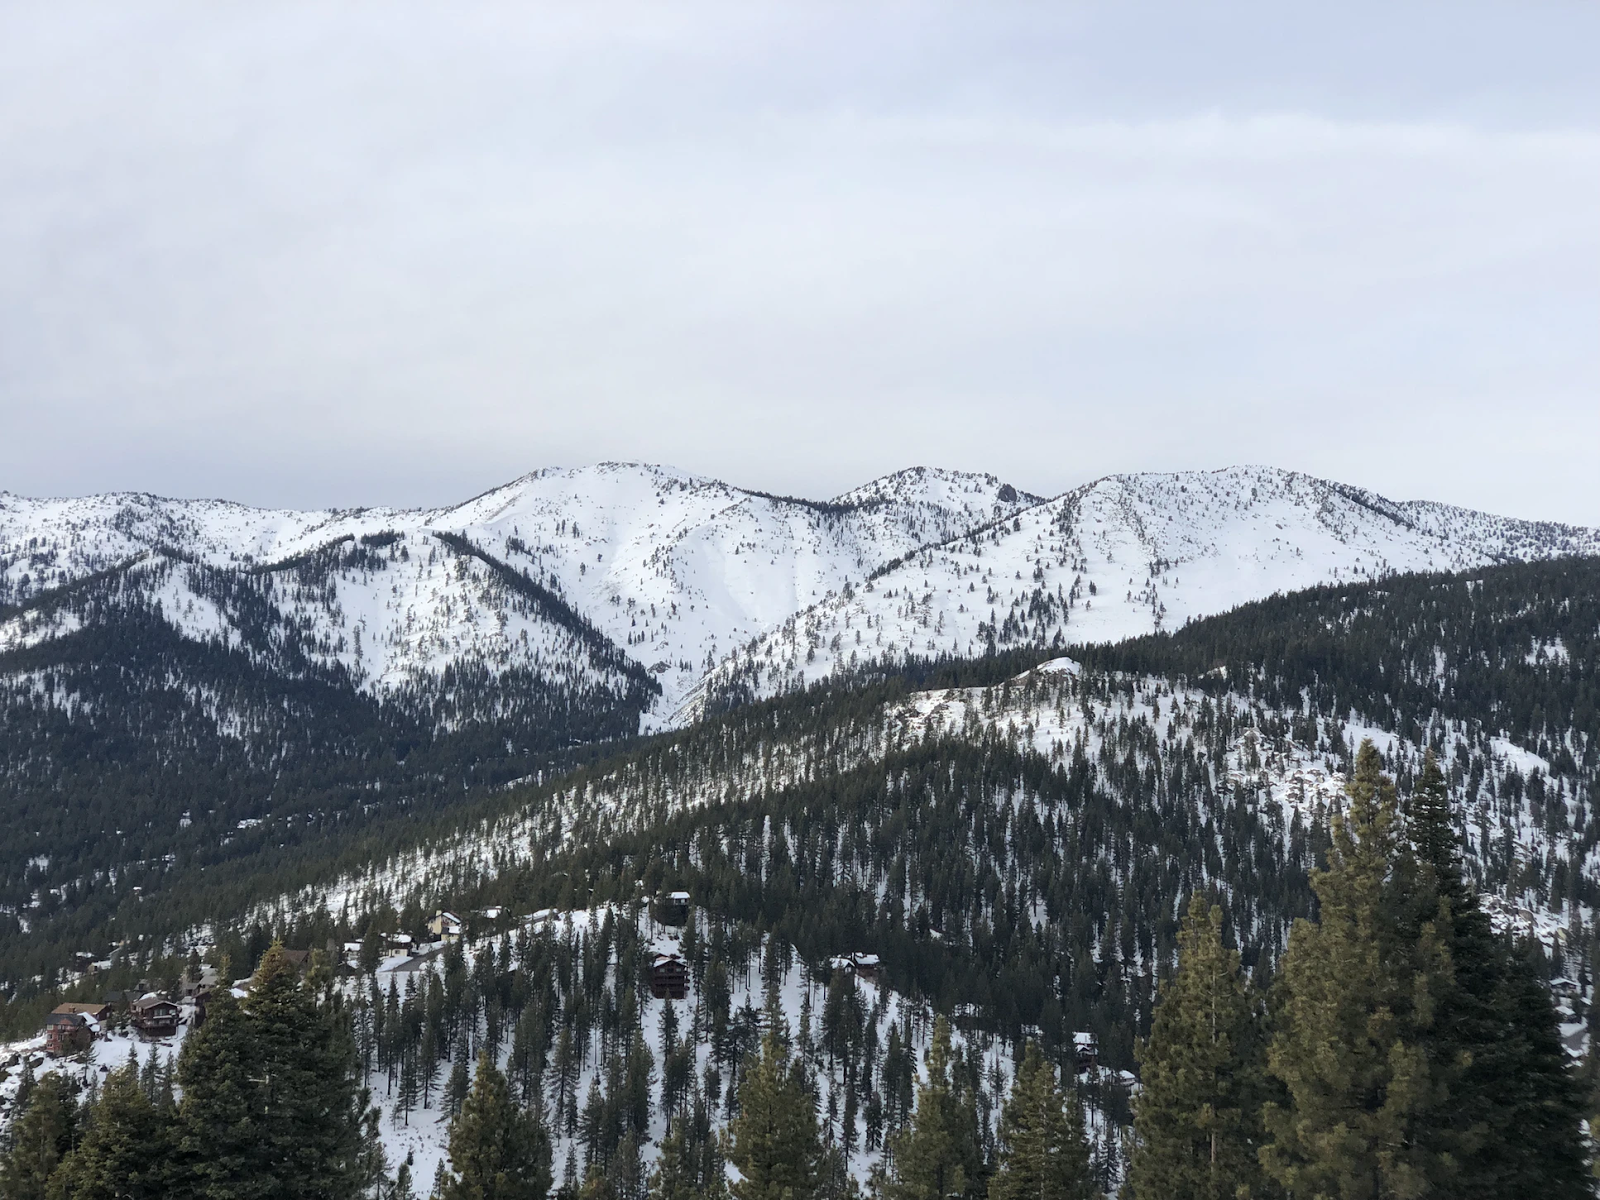
Lake Aloha Trail
In the southern portion of Lake Tahoe in California, the Lake Aloha Trail is seemingly waiting for adventures. This place is somewhat designed for every backpacker–regardless if they are seasoned veterans or starters who want to experience the wonders of trekking. This trail will take you on a hike to a 12-mile loop. There, you will be able to witness some of the pristine lakes in the heart of the Desolation Wilderness. Just don’t rush in the journey, so that you will get the most out of the trip.
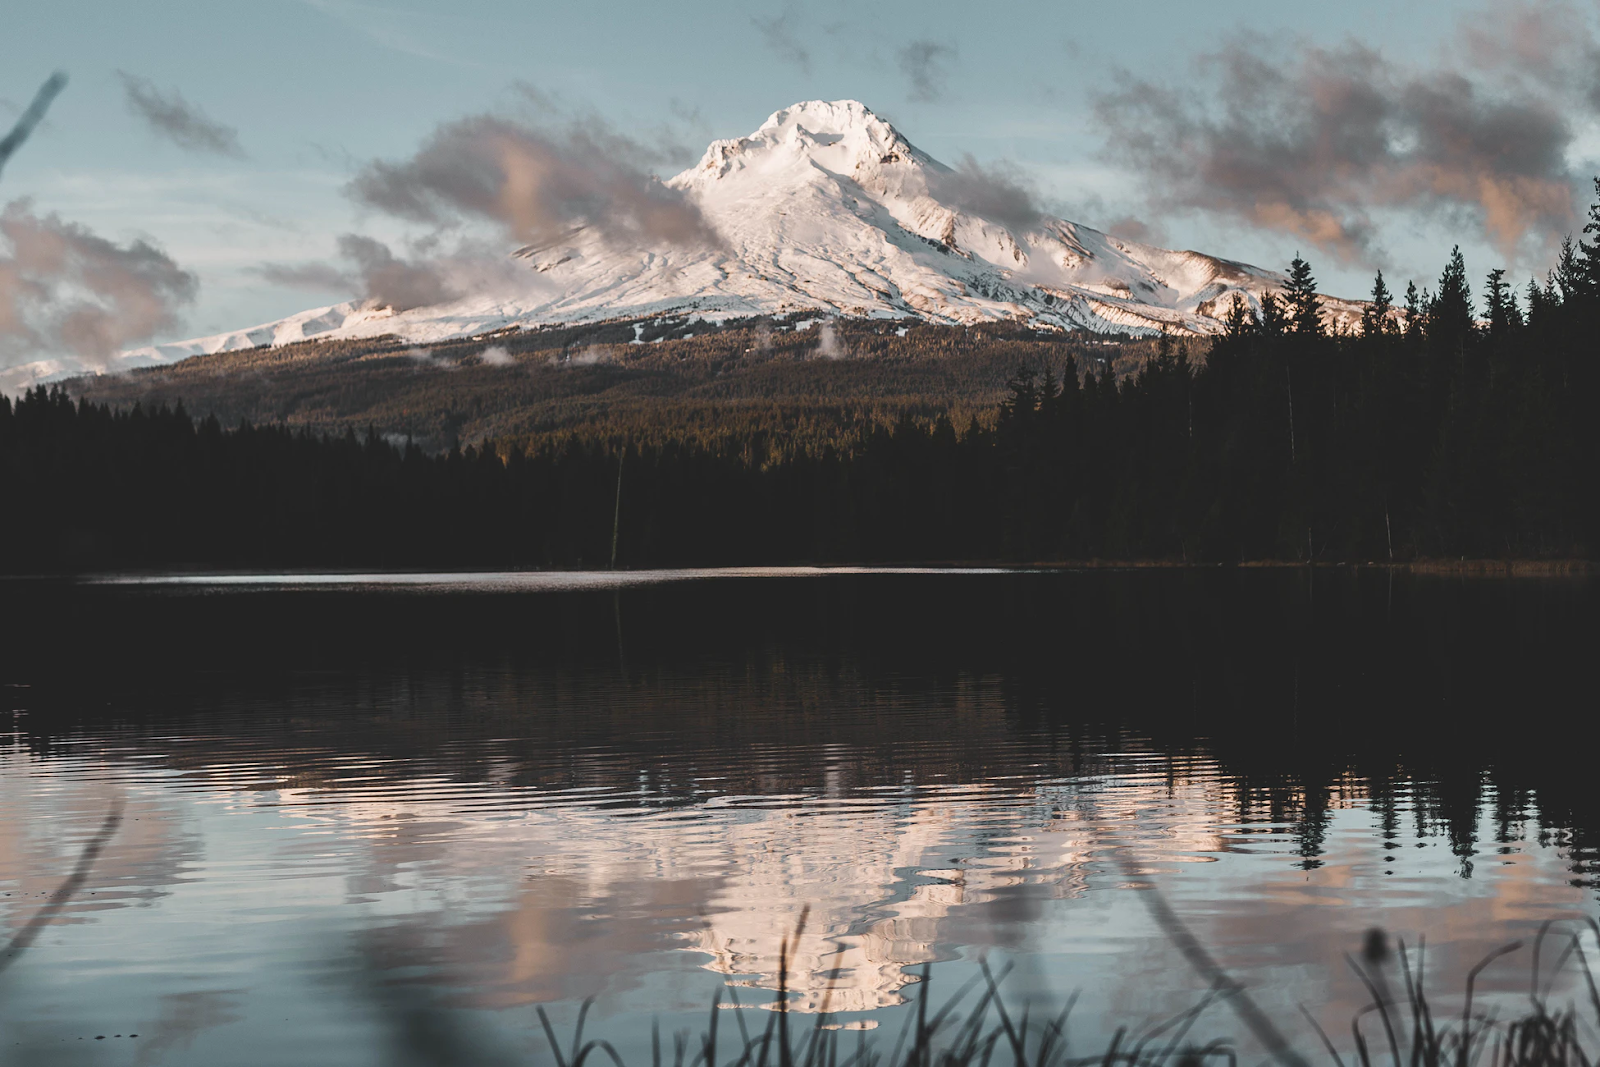
Timberline Trail
Mount Hood is part of the Seven Wonders of Oregon. It is an active volcano that you can reach easily once you are outside in Portland. One of the tourist hotspots of this area is the Timberline Lodge. But if you are a backpacker, then you should traverse the Timberline Trail. It is a path that encircles that entire monolith. This is the right venue that you can see the entirety of this glorious land formation. Train first before you set foot on this backpacking terrain. It can get dangerous here, especially during inclement weather.
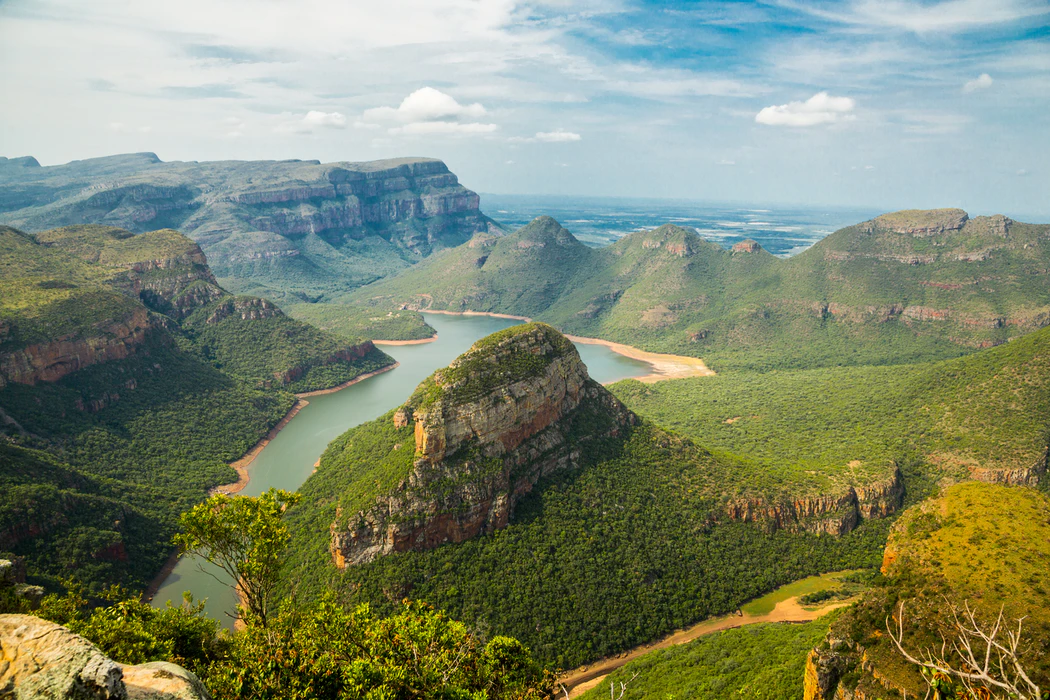
South Africa
When it comes to backpacking destinations, South Africa should always be a part of your list. This place is far from being shabby. Instead, it houses some of the most beautiful natural grandeurs that this world can offer. Several adventures are waiting for you here. From towering mountains down to the luscious wildlife, you can experience all of them here. If you have the heart for explorations, this place will surely suit your needs. Here are some of the magnificent backpacking destinations in South Africa.
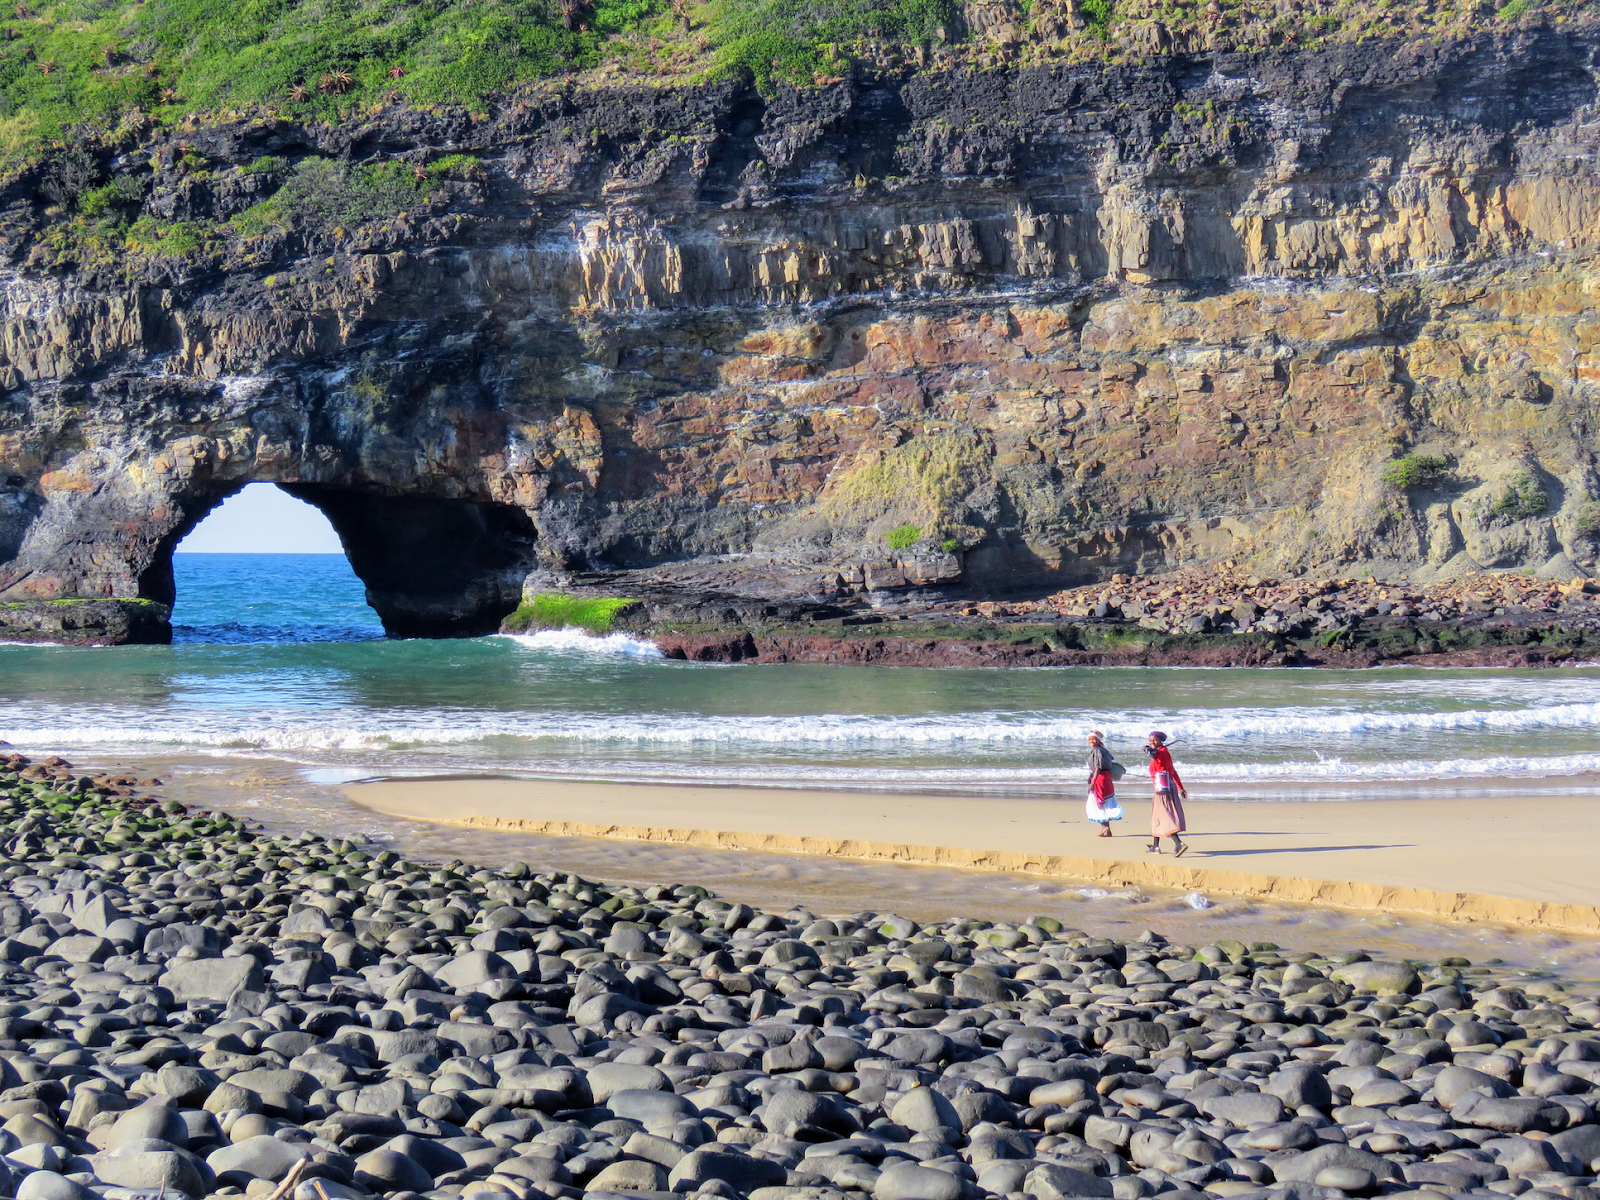
The Wild Coast
One of the most popular backpacking destinations in South Africa is The Wild Coast, and that comes with a lot of good reasons. This area is magically placed in between the Great Kei River and the Umtamvuna River. Aside from that, it also features a myriad of coastlines, beaches, and cliffs. Moreover, The Wild Coast is the cradle of the rare endemic trees like the sneezewoods. For animal lovers, this place is undoubtedly a treasure trove. More than a hundred bird species are lingering here.
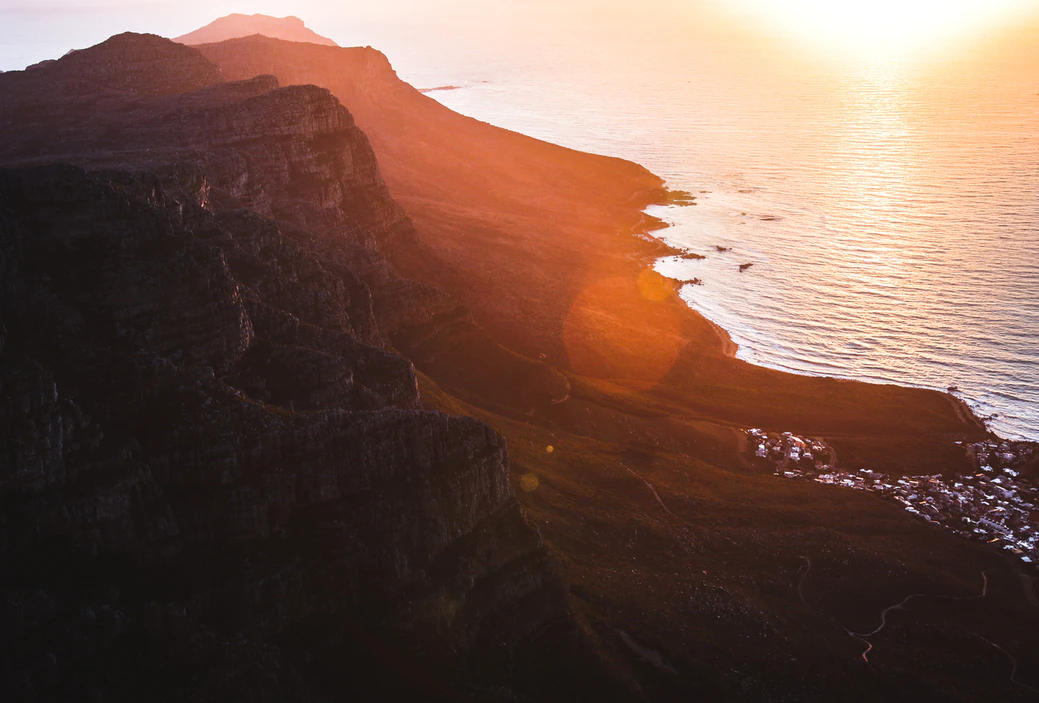
Table Mountain National Park
I guess that the Table Mountain National Park is one of the most sought places in South Africa. It encompasses the Cape of Good Hope up to the northern edges of the Cape Town. There are breath-taking views that you can stumble here, with the most obvious one being the Table Top–a grand spectacle that lies in the heart of the national park. It can be reached via cableways and wheeled rides. But since you are a backpacker, you might want to try getting there via trekking.
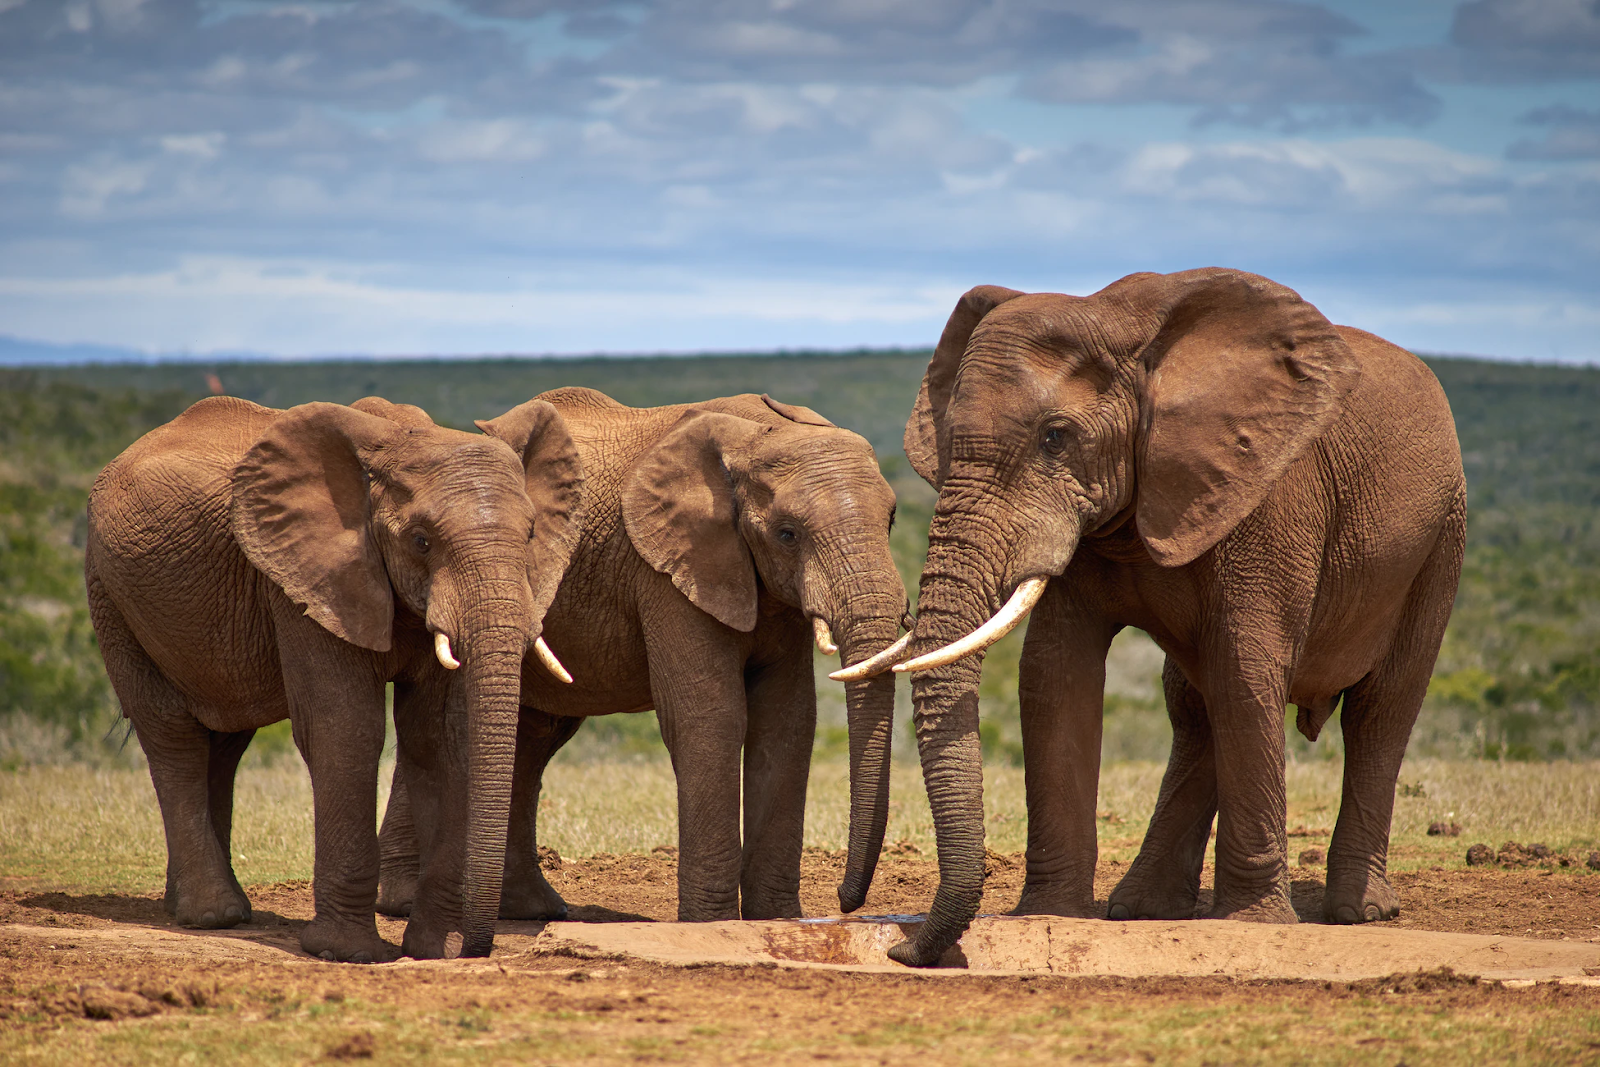
Addo Elephant National Park
Are you a lover of large animals like elephants? Then South Africa should be the perfect destination. But I do recommend you to venture into the Addo Elephant National Park, which is situated near Port Elizabeth. It is one of the biggest national parks, with a stretch of 1640 sq. km. This landscape features diverse wildlife such as lions, leopards, rhinos, and buffalos.
Japan
Japan is a small country. But at the same time, it still boasts some of the finest wonders in this world. It features magnificent structures and state-of-the-art facilities that only a few countries can match. However, the beauty of Japan is this Asian wonderland lies in its alluring parks and forests. It got majestic mountains, too, that are a pleasure to visit, especially during the winter season. In the Land of Rising Sun, backpackers will never have any regrets.
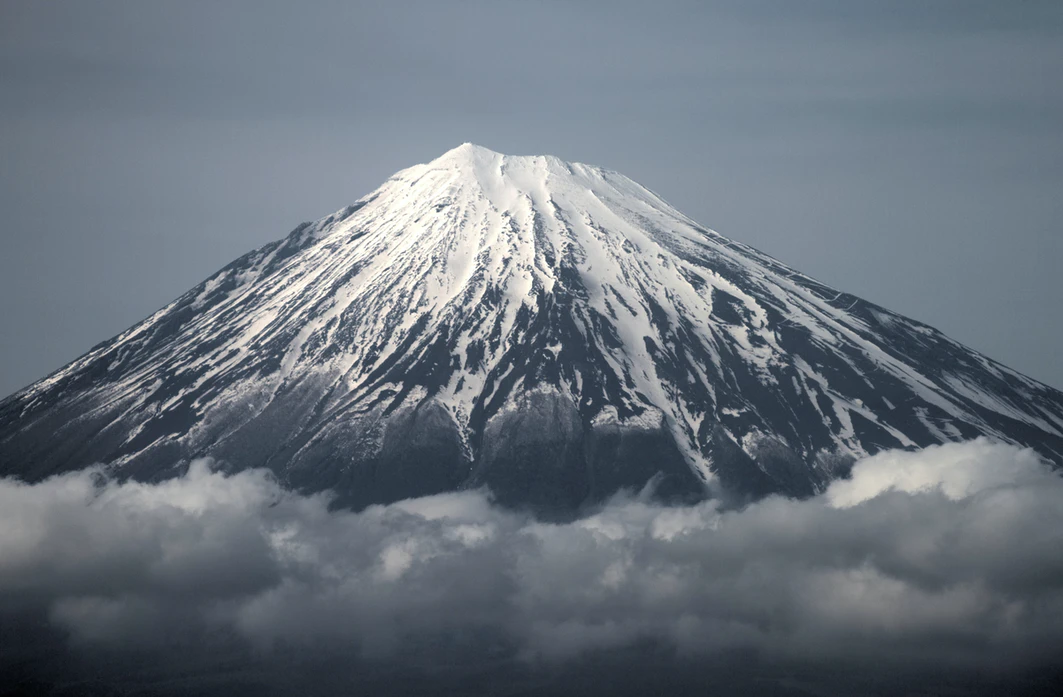
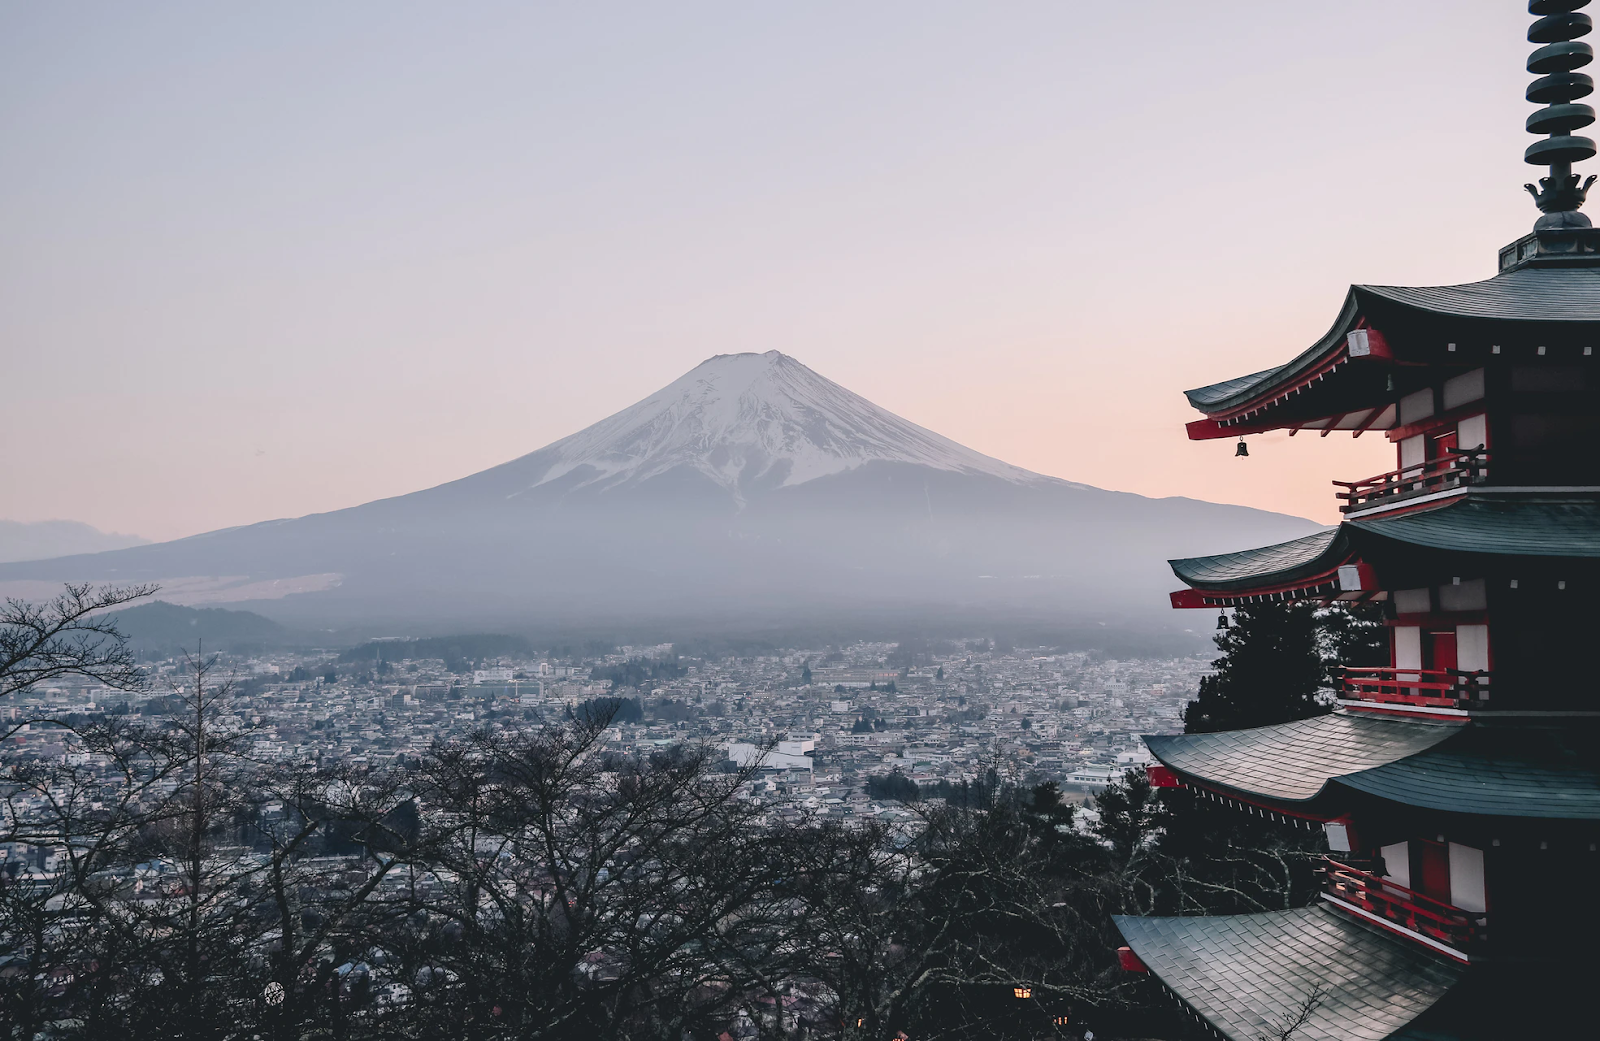
Mt. Fuji
It is always possible to summit Mt. Fuji. After all, this place should be included in your bucket list once you are in Japan. It can be said that being able to trek Mt. Fuji already sets the highlight of your adventure to this country. Backpackers and hikers will experience rocky terrains, sharp steeps, and changing weather here. Of course, the reward is truly fruitful. This 12,388-foot monolith will give you a glimpse of Japan’s magnificence.
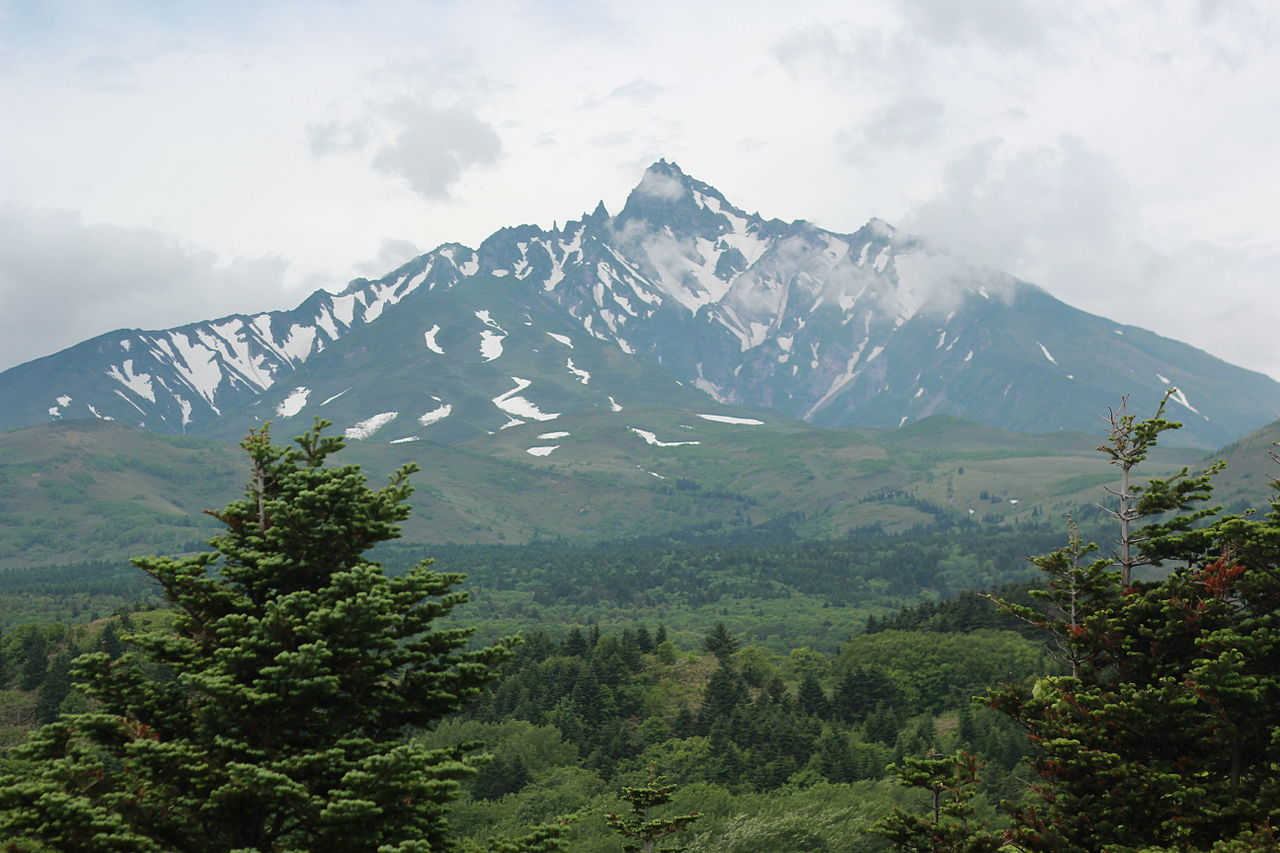
Mt. Rishiri
Coincidentally, Mt. Rishiri is quite similar to Mt. Fuji. Fortunately, this one is quite forgiving. It is plausible to traverse it in just a day. The journey to this backpacking site will require you to fly to Rishiri Island, which is around 12.5 miles from Hokkaido. The mountain is just 5,500 feet tall, which is just half the size of Fuji. I suggest that you go to this place from June to August, as these are the months where the flowers start to bloom.
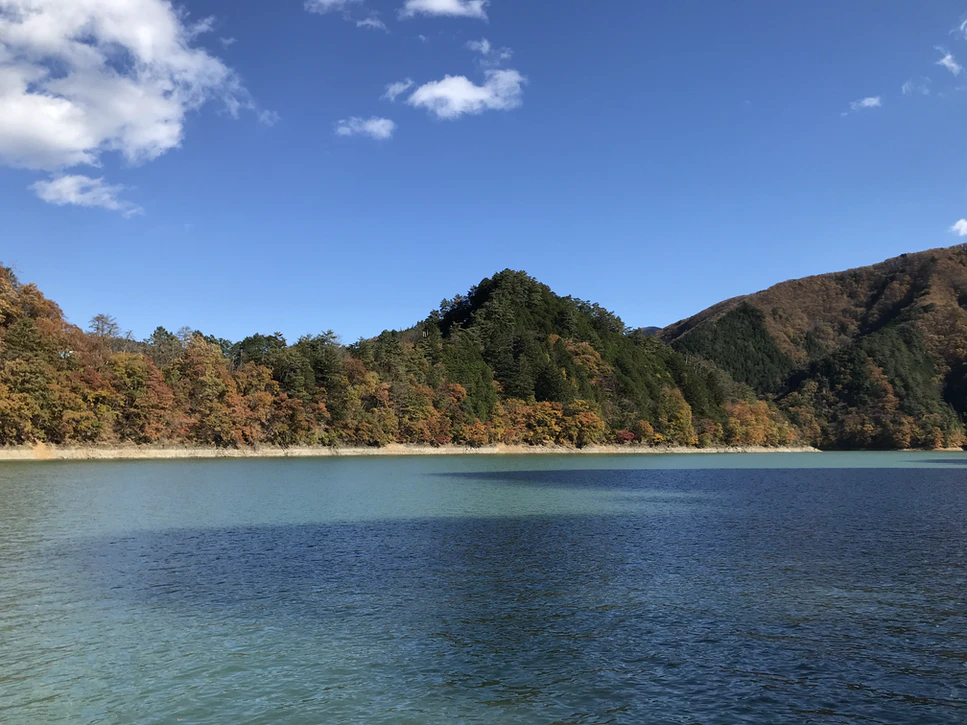
Okutama
Okutama is still within Tokyo. But ironically, this place is quite far from the urban sprawl. For you to get here, you will have to take a two-hour train ride until you get to the western town where forests are the main sights. There are a lot of things that you can do here. You can trek mountains, venture the rivers and lakes, and explore a number of cave channels.
Vietnam
Undeniably, Vietnam is an excellent destination for every dedicated backpacker. Being a part of Southeast Asia, Vietnam features numerous natural spectacles, including arrays of mountains and long stretches of rivers. The people here are pretty hospitable. You will undoubtedly get the most out of your time (and money) while in this country. Try to explore Vietnam once you have the opportunity!
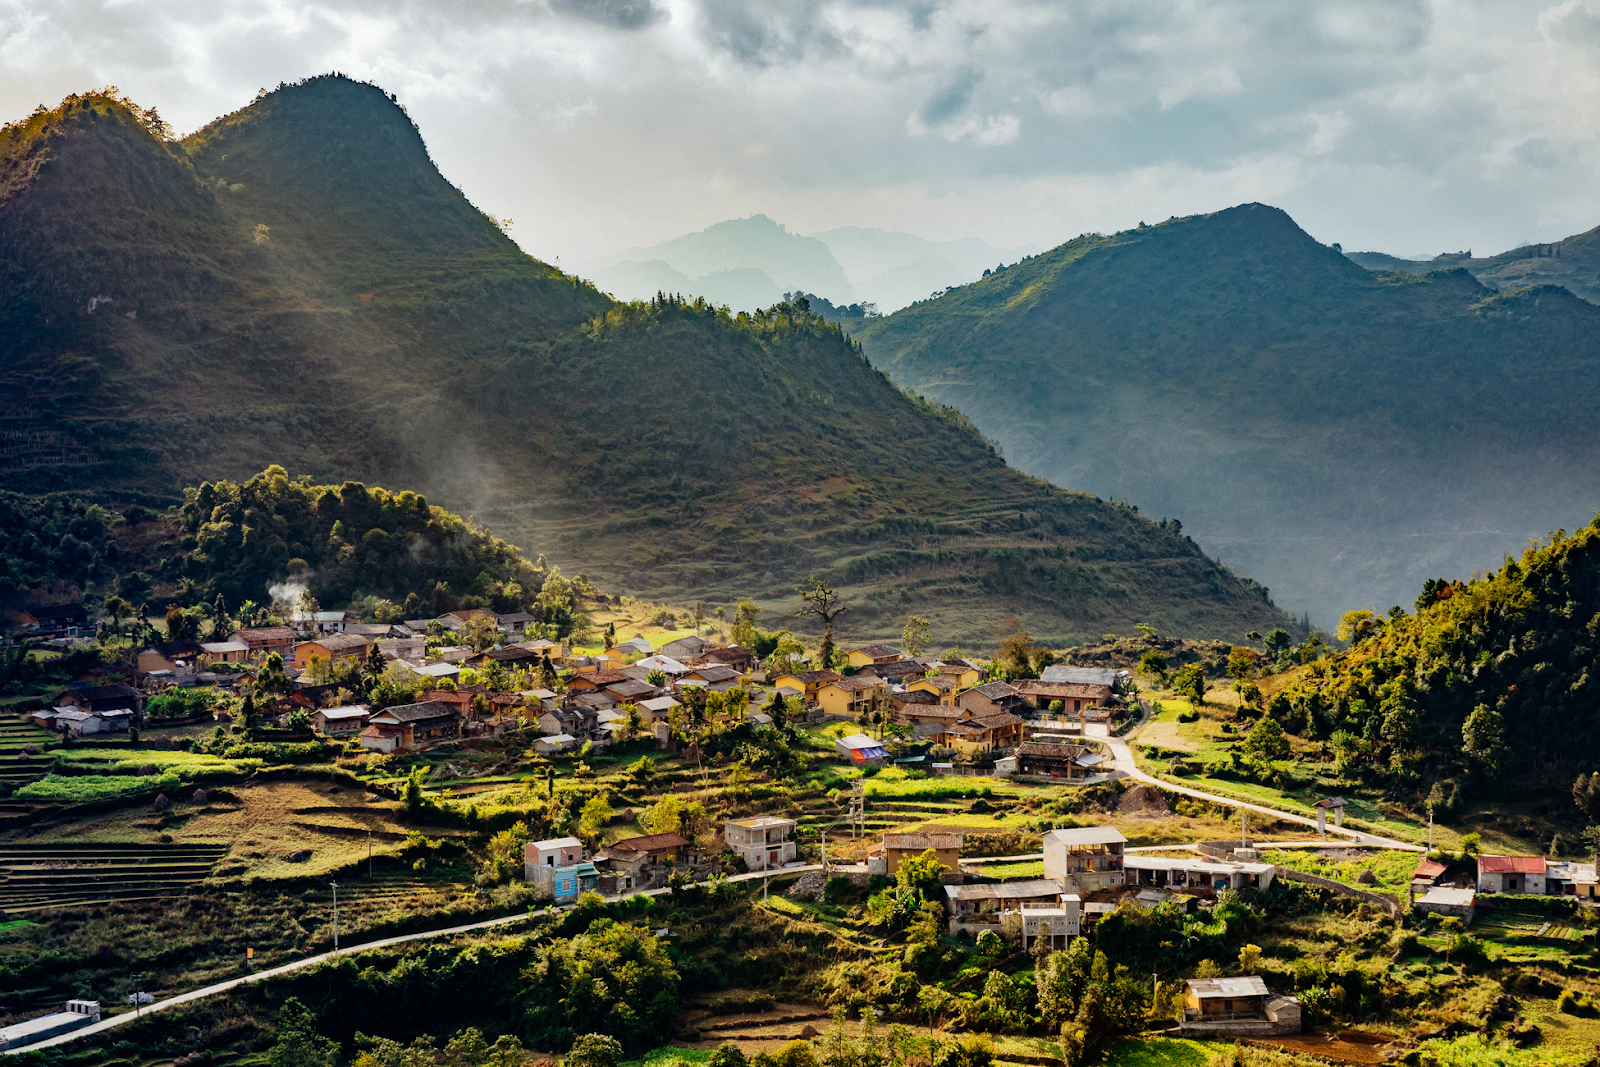
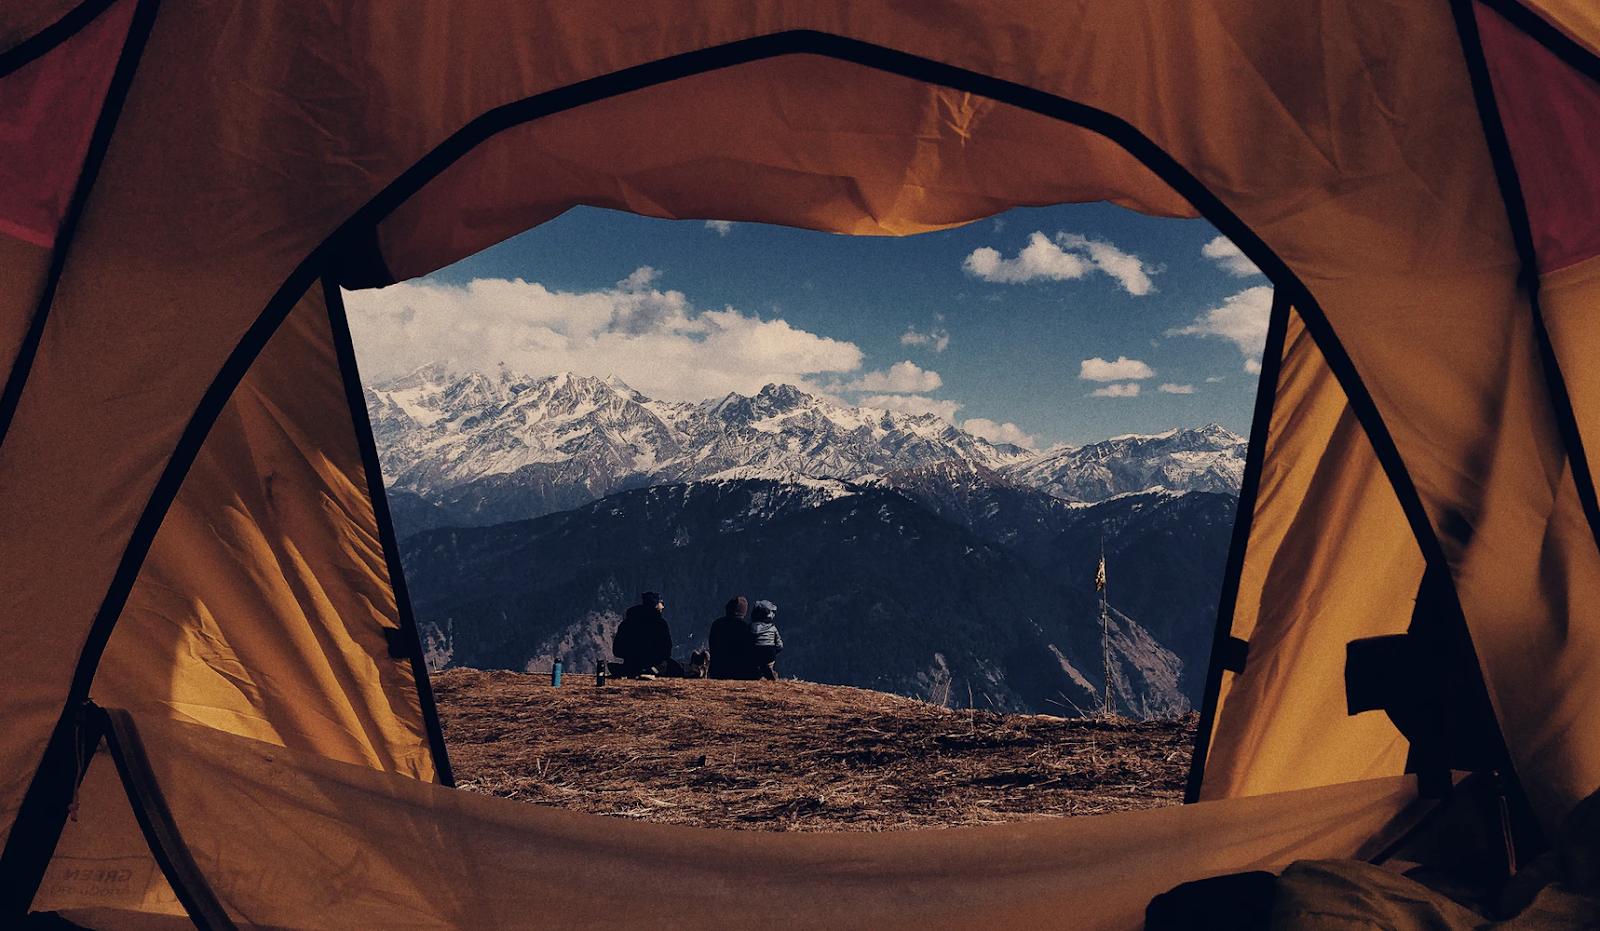
Ha Giang
The Ha Giang province is a popular destination, not only for locals but for foreigners alike. It is commonly crowded during the months of September to December as the flower fields in the area will start to blanket the scenery. Ha Giang is located in the northern part of Vietnam. It has great elevations, which is excellent for sight-seeing landscapes. For those who have adventurous hearts, Ha Giang is the best place to go.
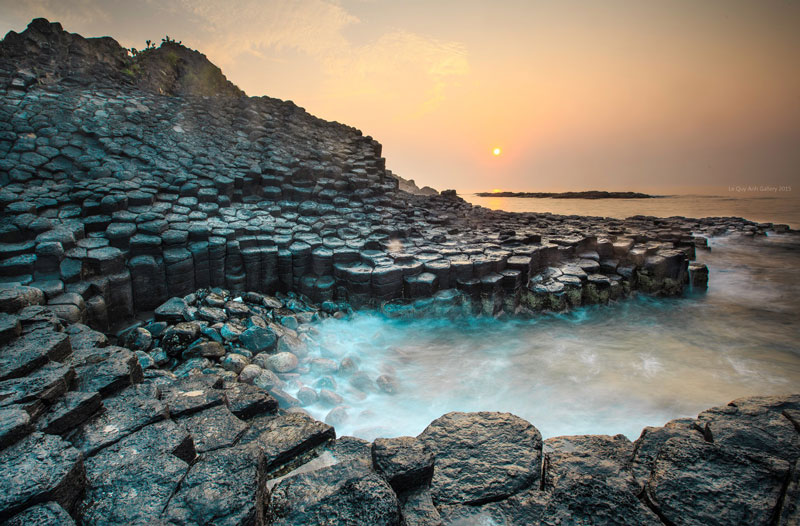
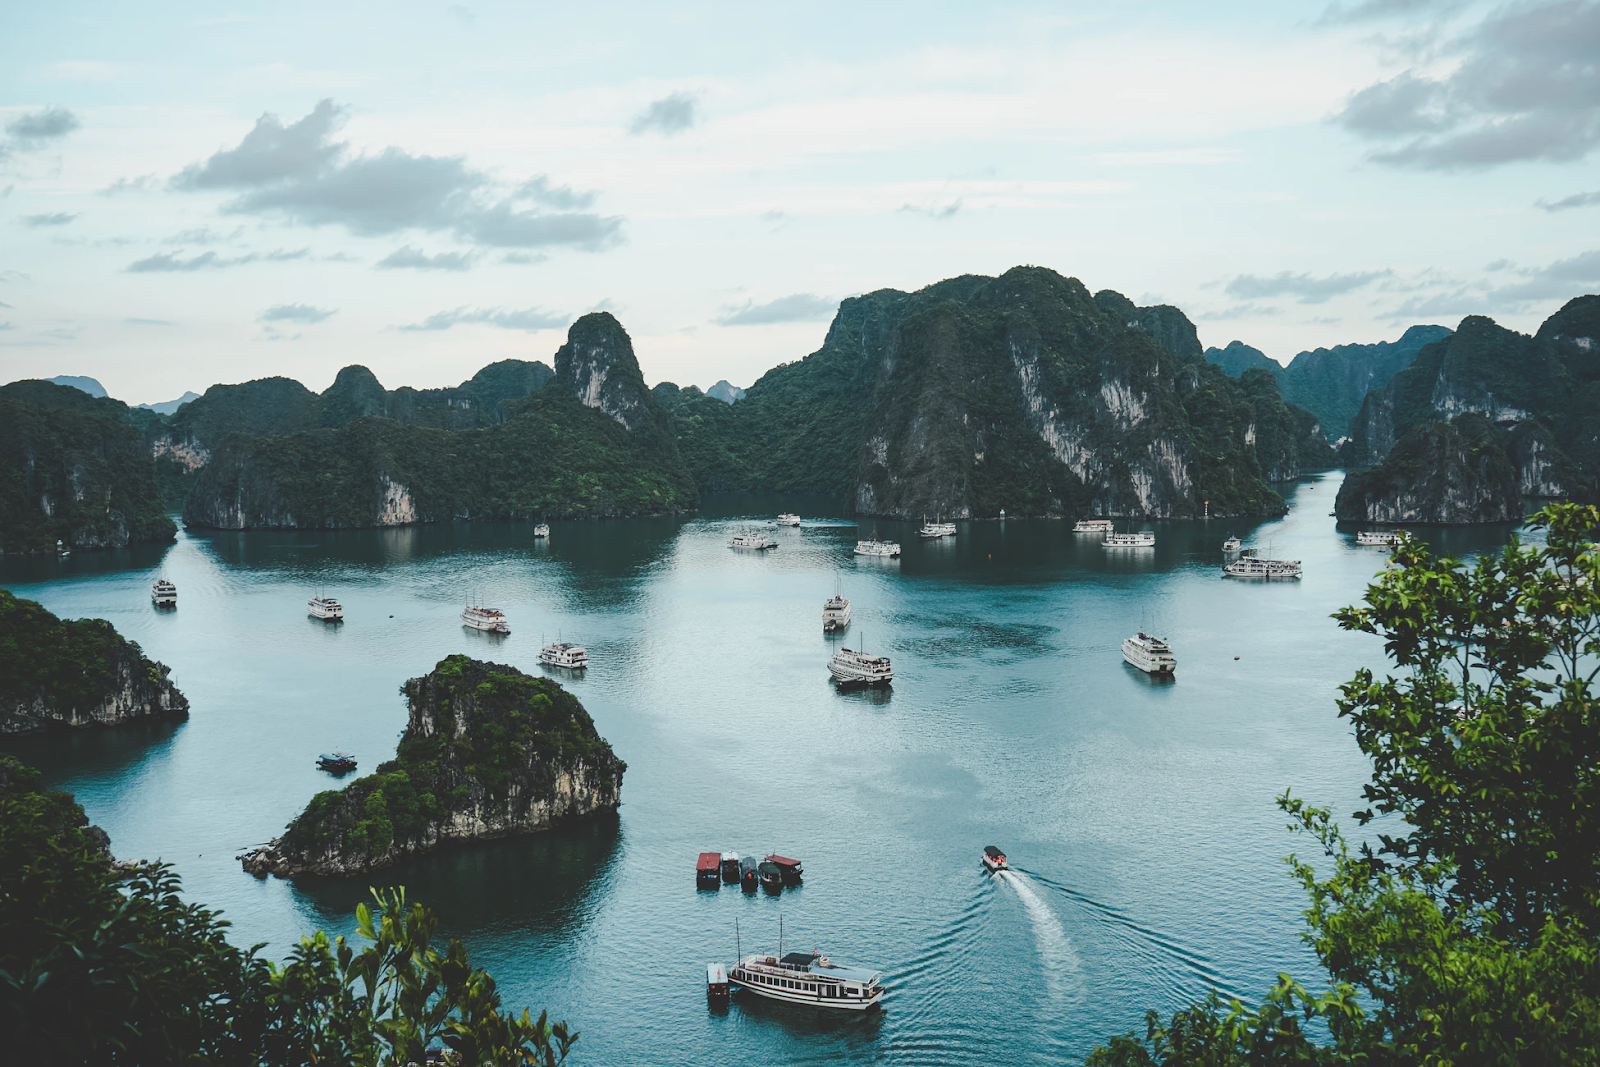
Phu Yen
Vietnam’s South Central Coast is filled with extraordinary beaches and pristine shores. If you are in the area, the people there will refer you to the Ganh Da Dia, which is touted as its most impressive site. After that, you’ll have to explore Phu Yen–a province in Vietnam that is peculiar on its own, as it is situated between two titanic mountain ranges. For backpackers, the meadows of this coastal province are the ideal scenery for explorations.

Da Lat
When in Vietnam, missing Da Lat is a sin. It is the capital of the Lam Dong Province and has been a haven for tourists for a reason. This place is considered as the most romantic city in the country. It is equally enigmatic for reasons that you can only find out once you are here. Many backpackers and tourists go to this place because of its friendly climate and flowery fields.
Ireland
When it comes to backpacking in Europe, Ireland should be your first destination. The country is almost close to heavenly, as it boasts lush and green landscapes. The towns are pretty idyllic, which is excellent for those individuals who are seeking solitude and historical fascination. But it doesn’t mean that there are no sites in Ireland for those who are thirsting for adventure and outdoor pursuits.
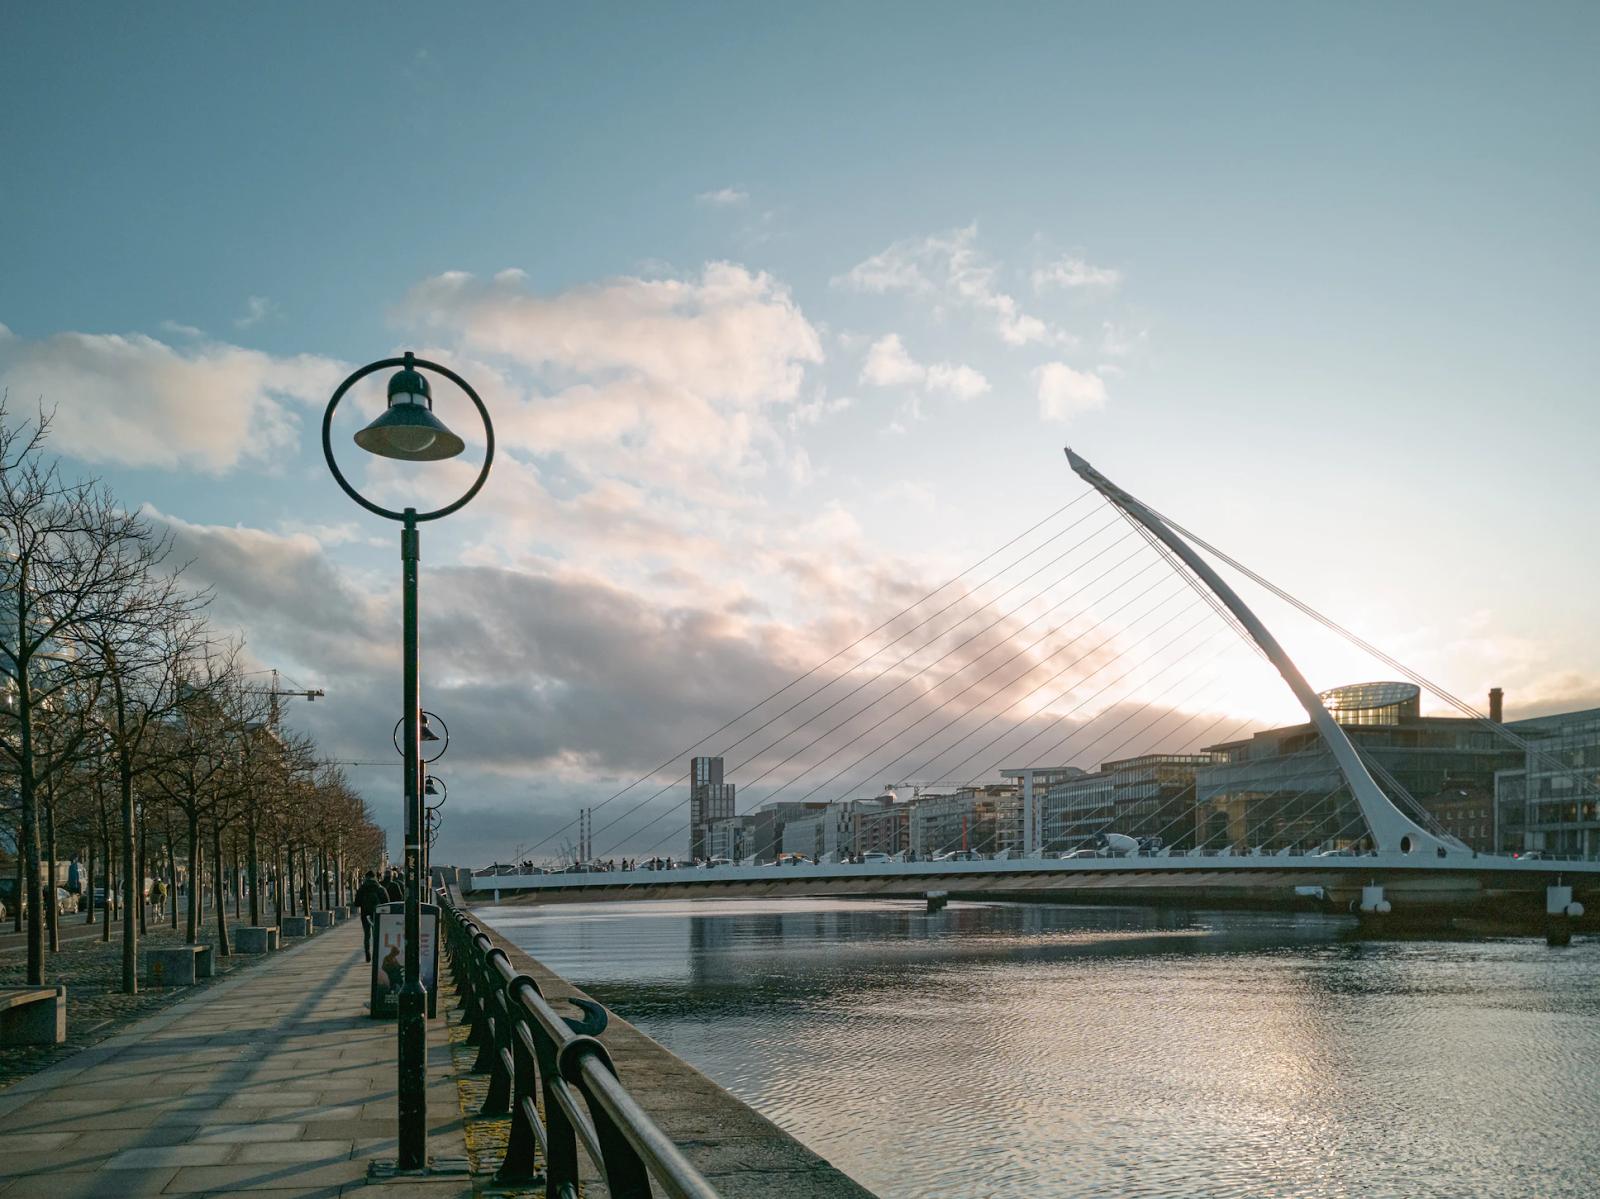
Dublin
Going to Ireland will likely land you to Dublin. Needless to stay, this is the place where you should start your journey. Culture is the best place to describe Dublin, as there are well-preserved historical sites here such as the Dublin Castle and the Guinness Storehouse. Dublin also serves as the starting point for some of the rural spots in Ireland such as the Ring of Kerry and the Cliffs of Moher.
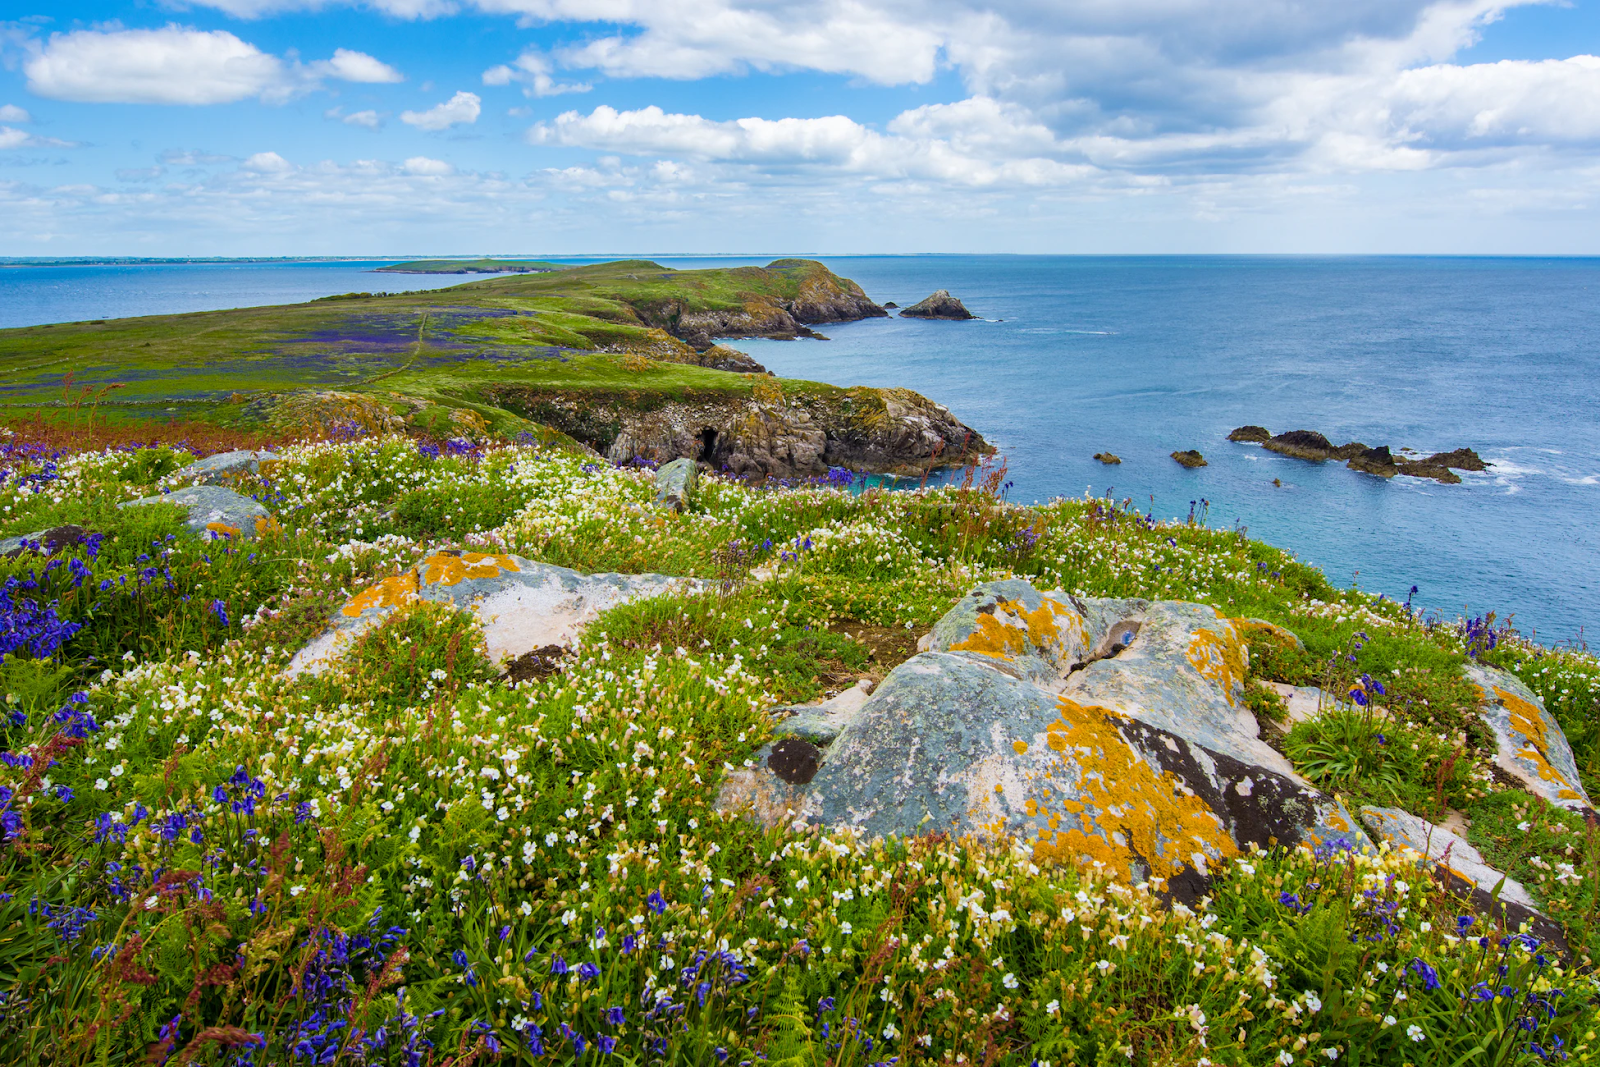
Aran Islands
The Aran Islands is one of the hidden treasures of Ireland. It is located in Galway Bay and is the home of only 1,200 individuals. There are a lot of interesting things that you can witness here, such as the local heritage sites such as ancient castles and ruins. You can also explore the Dun Aengus–an ancient fort dating back to the Bronze Age. Don’t worry, though. The Aran Islands are downright accessible, especially the Inishmore–the biggest land among the aggregates.
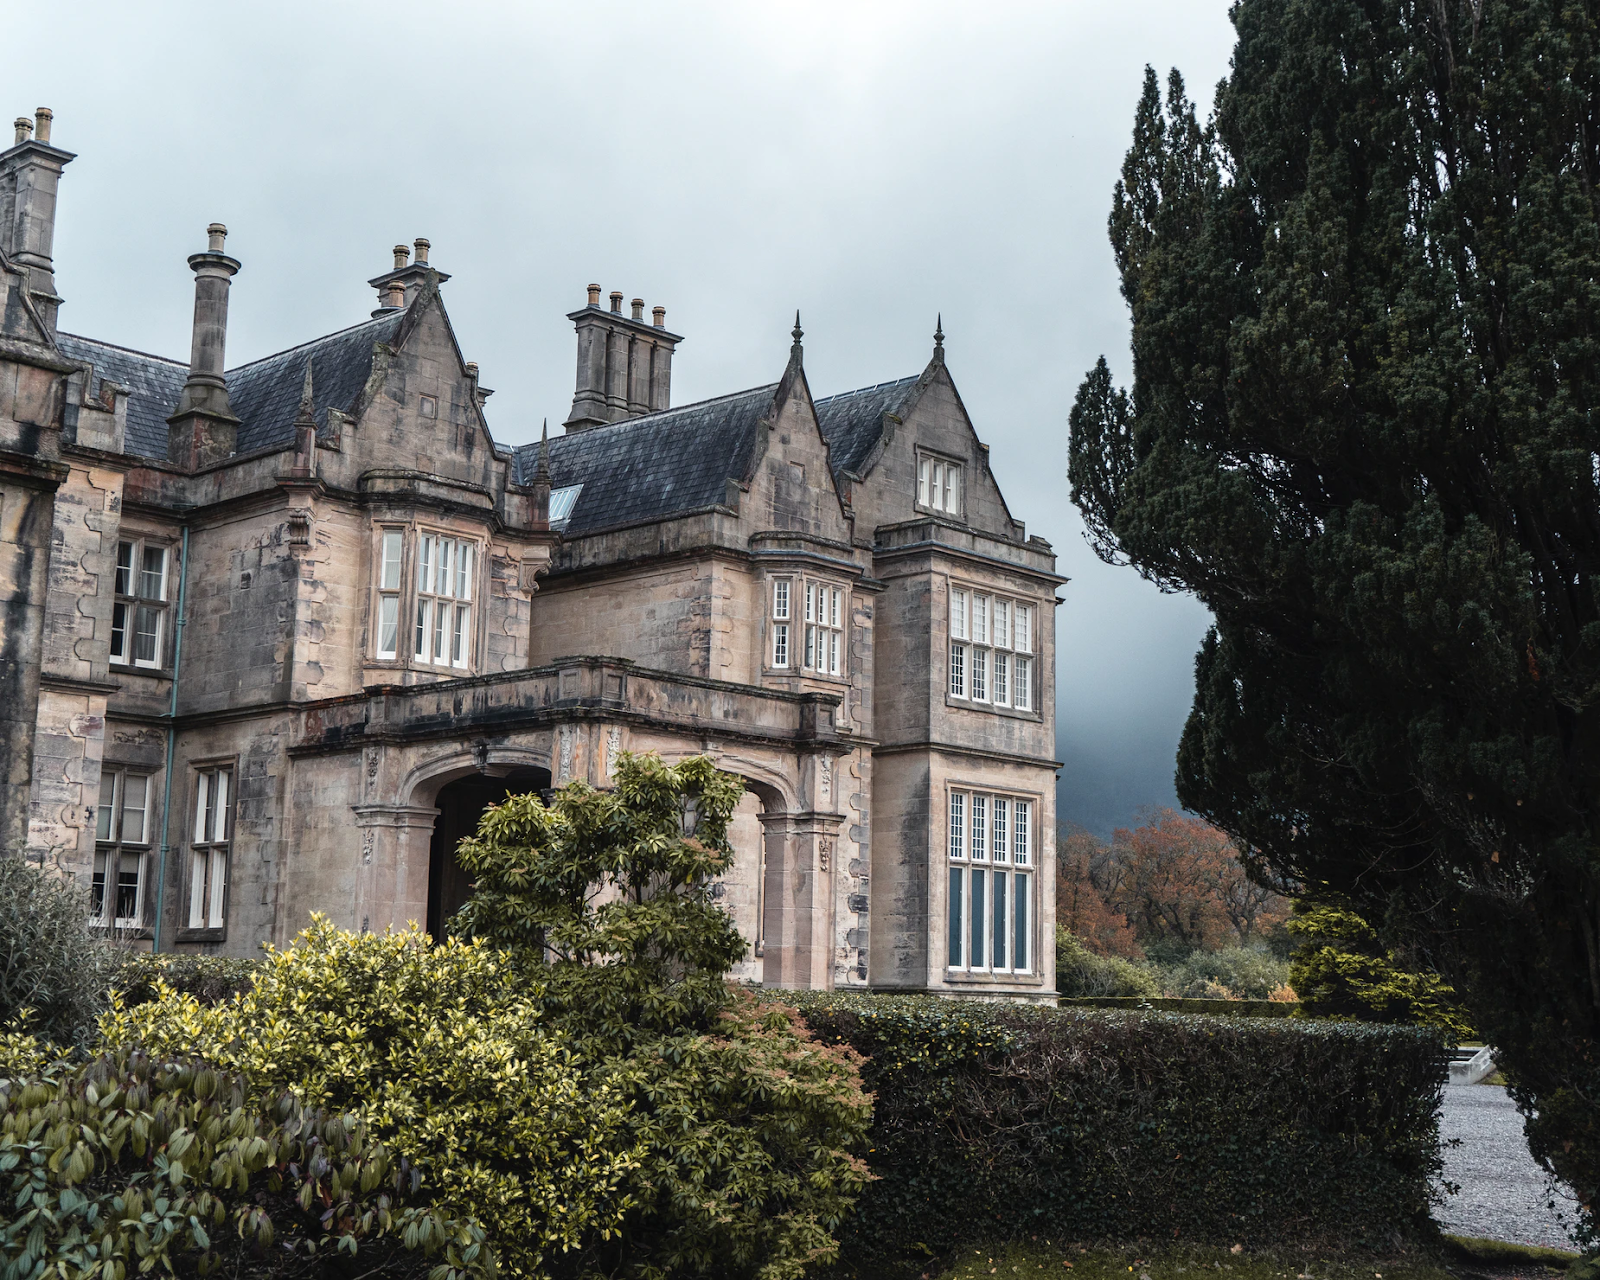
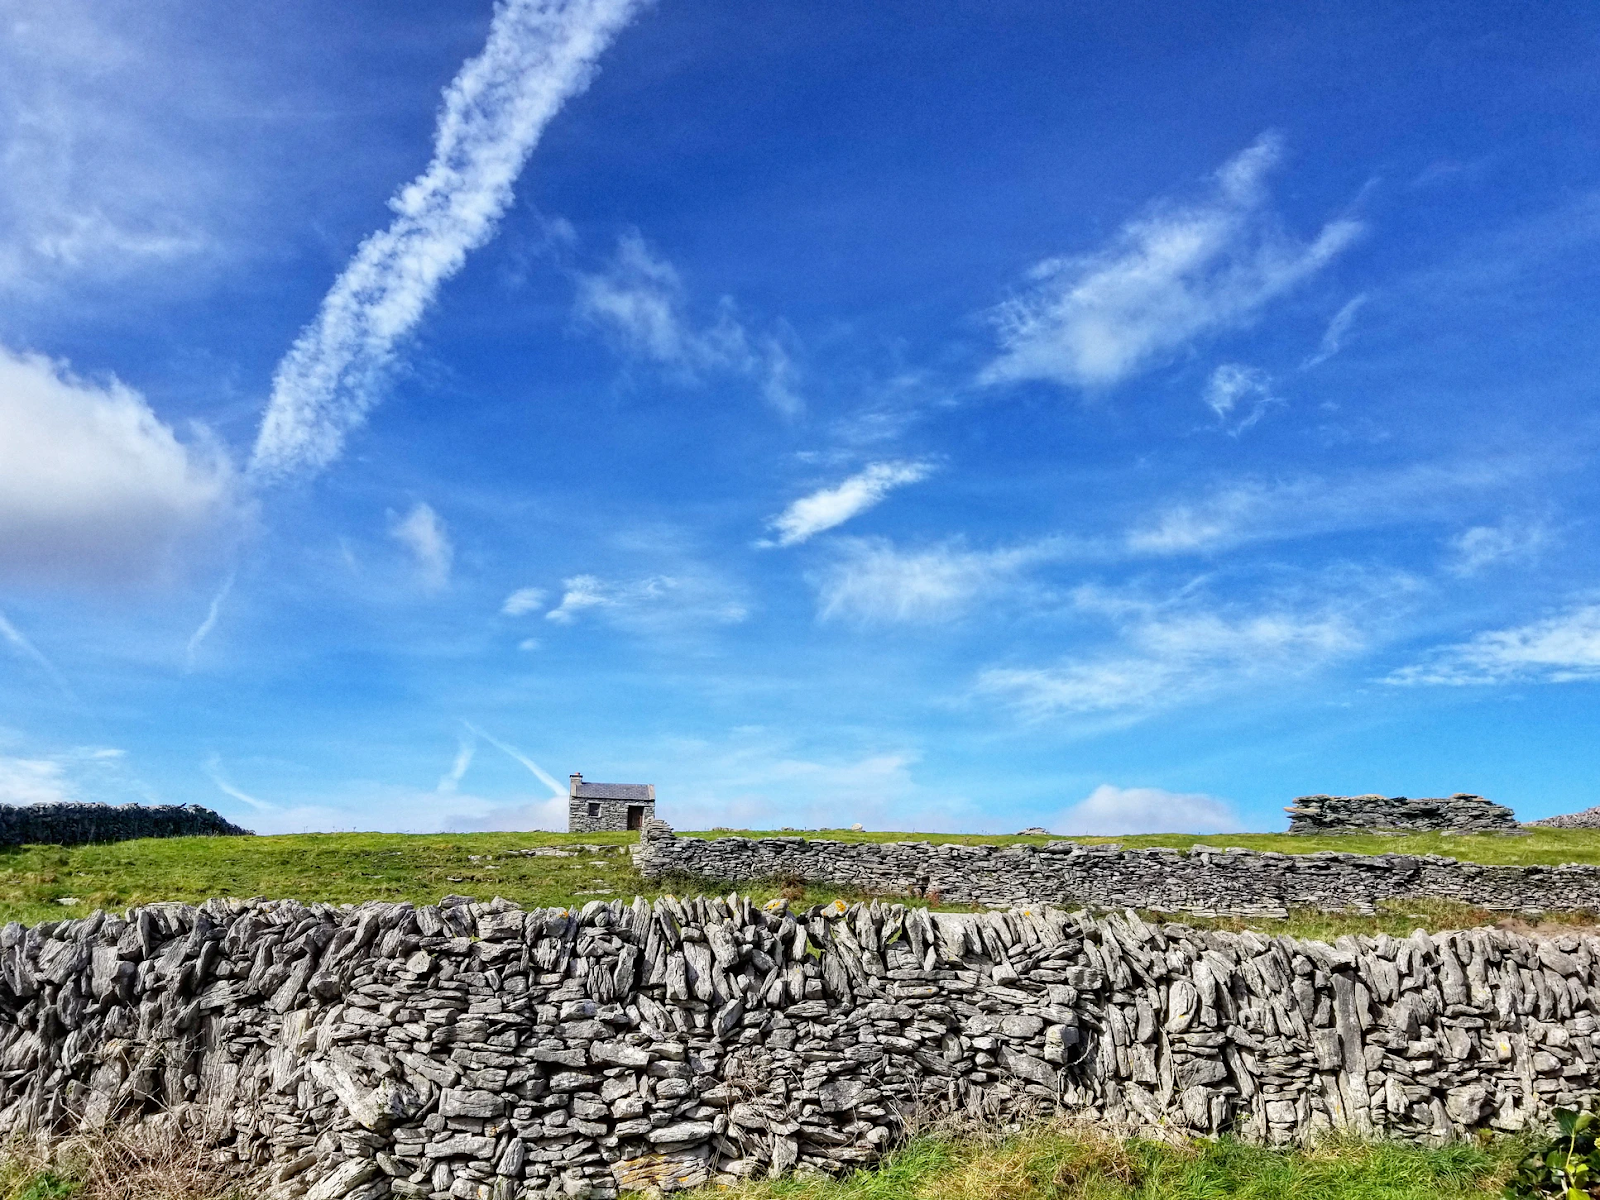
Killarney
Killarney is the epitome of the affluent medieval background of Ireland. It is considered as the most popular tourist site in the country, as millions of foreigners visit it annually. Backpacking in Killarney is quite enjoyable, as you will just have to explore the town along with its serene atmosphere. While in Killarney, you should visit the Ross Castle and Muckross Abbey.